
This guide should give you a good example of how to setup Tomcat on a Windows environment for anyone that is not interested in using Linux.
This guide was setup with taking into consideration that you have a single server for your “tomcat”, also this guide is my view how to install Tomcat on a Windows machine and I therefore use IIS as a reverse proxy towards Tomcat since I personally do not like running Tomcat directly towards the internet.
This guide was tested on:
Windows Server 2012 R2 Standard
In this guide I will show that it is also possible to run Tomcat on a Windows machine and use IIS as web server.
So lets start!
Before we can use Tomcat we have to install a JDK (Java) version so let’s do this first:
Step 1: Download the JDK version of Java and install it.
Go to the java website: https://www.oracle.com/technetwork/java/javase/downloads/jdk8-downloads-2133151.html
Accept the license and then download: “Windows x64 (jdk-8u60-windows-x64.exe)” package.
Now install it!
(Since Oracle updates Java frequently please download the latest and ignore if my version above is slightly older)
Step 2: Add the JAVA_HOME variable to the server
Now right click on “This PC” and choose “Properties” on the right bottom site next to your computer and full computer name click on Change settings. On the window that opens go to the Advanced tab and click on “Environment Variables” at the bottom box called “System Variables” click on new and add the following:
Variable Name: JAVA_HOME
Variable value: C:\Program Files\Java\jdk1.8.0_66
Should look like this:
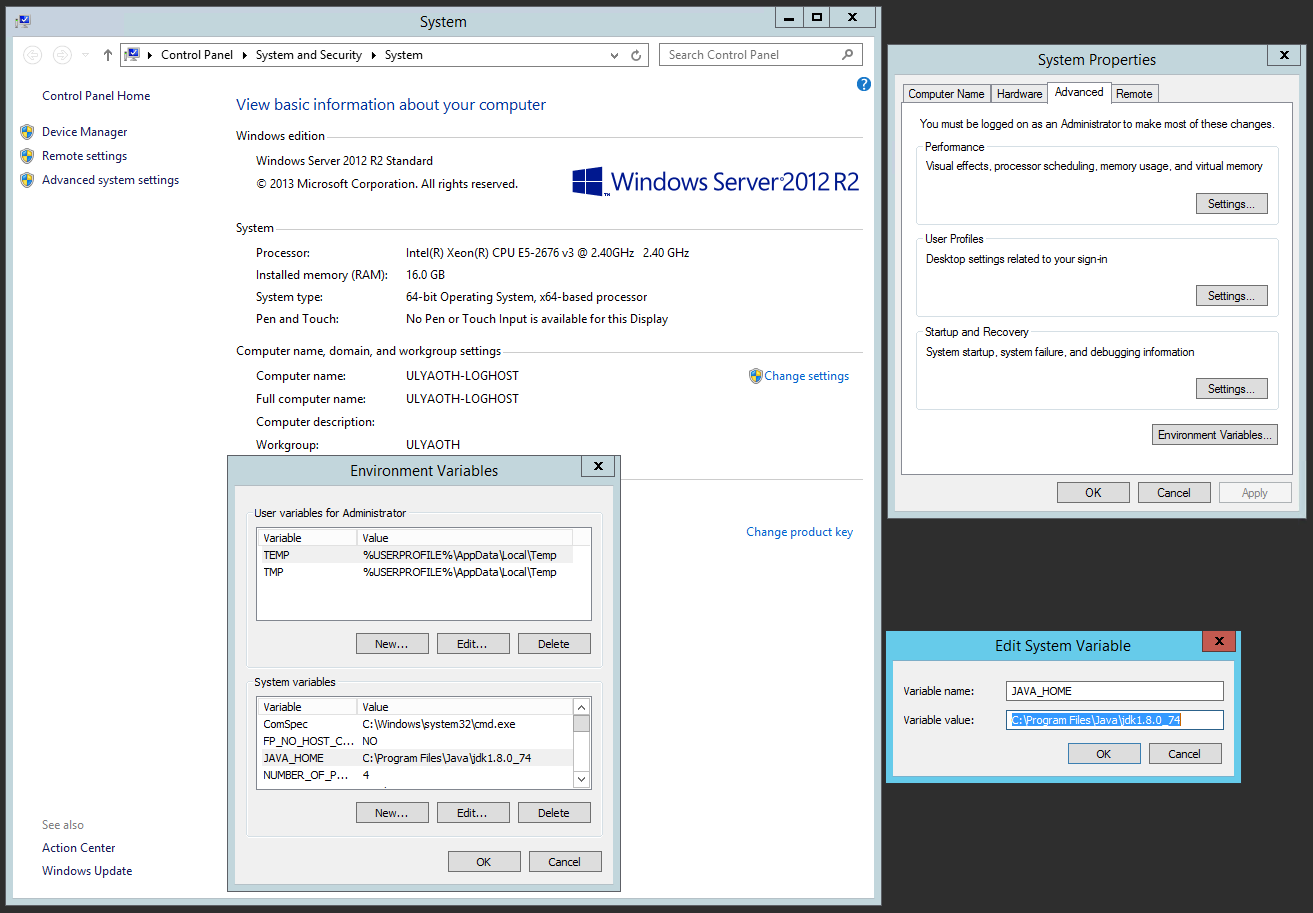
(Same as I wrote with Step 1 if your Java version is newer please update the JAVA_HOME entry accordingly)
Step 3: Download Tomcat.
Simply go to “https://tomcat.apache.org/”

File name you are looking for is:
Tomcat 8: apache-tomcat-8.0.30.exe
You will find it at the download section, a newer minor version than 8.0.30 will probably work fine but for a newer major version the installation might be very different.
Step 4: Install Tomcat.
Now you should have the exe file you downloaded above called “apache-tomcat-8.0.30.exe” so simply double click it to start the installer, you should see the following window appear:
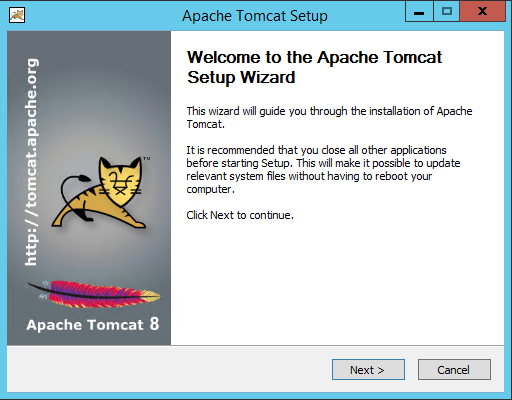
On this window simply press the “Next” button and a new window appears like this:
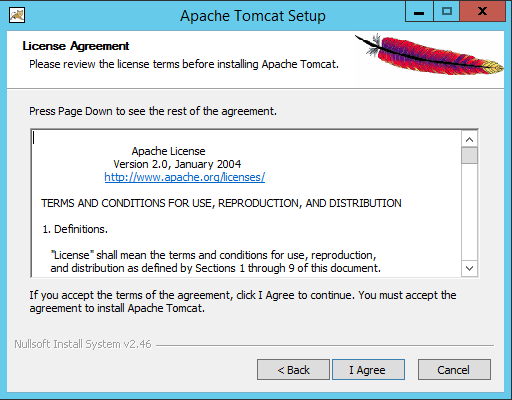
On this window make sure to read the license agreement and if you agree then press the “I Agree” button to get to the following window:
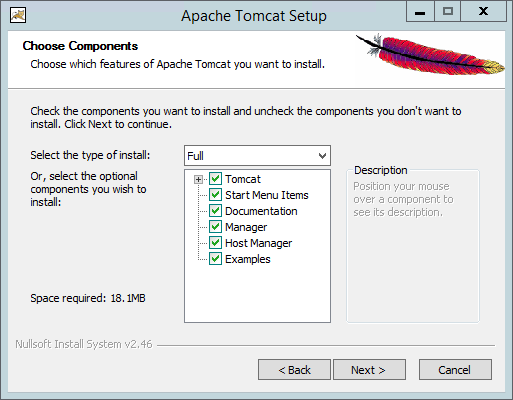
On this window you can select what parts of tomcat you wish to install for the sake of this guide I changed the drop down menu to “Full” and then you can press on “Next” to see the following window:
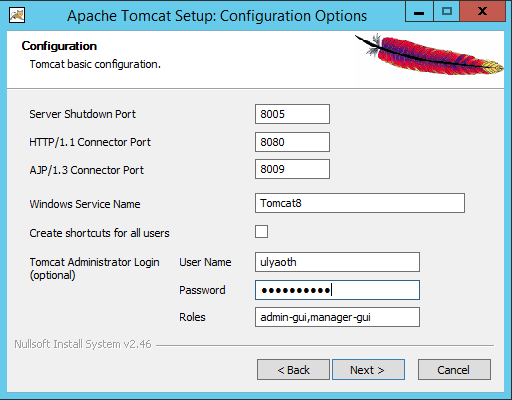
On this window you can choose the ports tomcat will run on and the name of the windows service, for this guide all settings are fine default.
You should however add a “User Name” and “Password” for the admin section, as you can see I called my user for the sake of this guide “Ulyaoth” however you can choose something else and the press the “Next” button to see the following window:
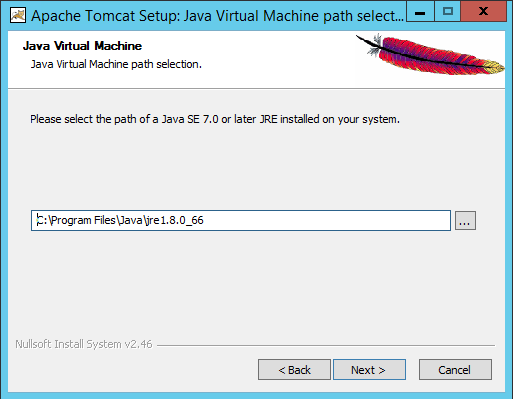
On this window you can select your Java version if you followed Step 1 and Step 2, then this should be filled in automatically however if you wish to use a Java version from a different location then simply add this here and then press “Next” to see the following window:
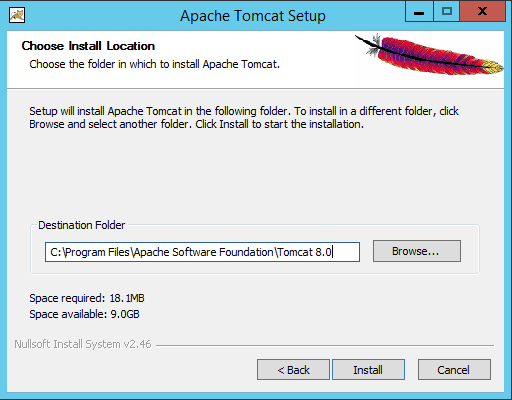
On this window you can choose where to install Tomcat, on a real system you probably would want to put tomcat on a separate disk as the main OS but for this guide it should be fine on the default location so now press the “Install” button to start the installation you should see this:
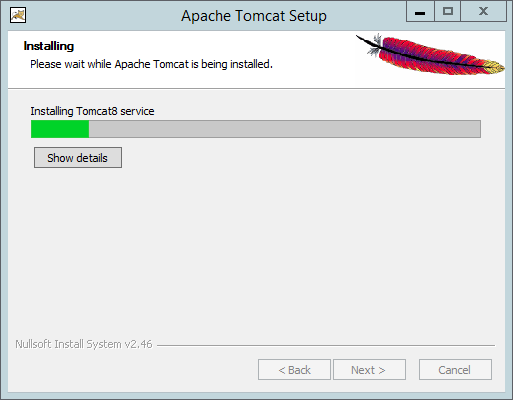
As you can see it is installing and after a very quick moment you should come to the final window:
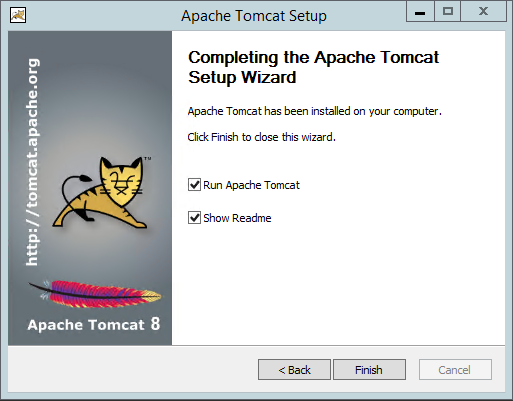
Congratulations you have done it! Tomcat is installed on Windows! easy or not?, so just as you can see the option to run tomcat is already marked so leave that and choose to show readme or not and then press on the “Finish” button.
You should see that it automatically now will start Tomcat:
When this is finished let’s test to see if Tomcat works by opening a browser and go to “127.0.0.1:8080” in your browser.
You should see something like this:
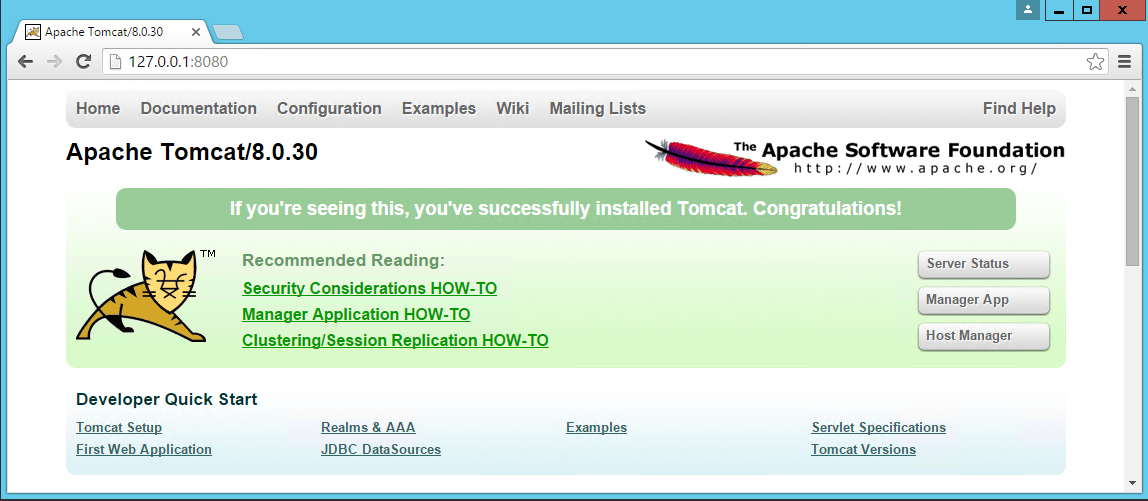
This means your Tomcat installation was successful! congratulations, now to see the server status just click on the button that shows on the website above “Server Status” or go directly to “127.0.0.1:8080/manager/status” and fill in the “User Name” and “Password” you did choose a few images up.
You should now see something like this:
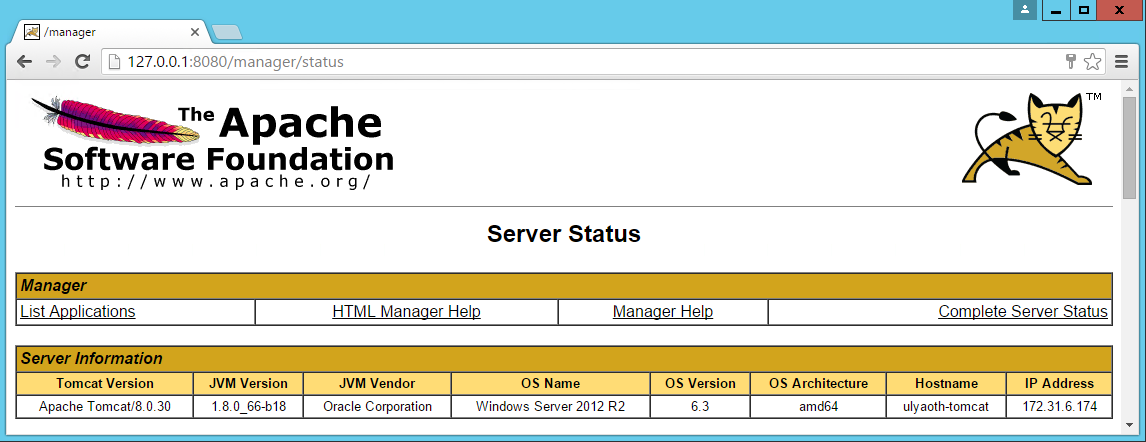
As you can see it runs correctly on Windows!
Now let’s continue and add IIS in front of this on port 80 so we can reach this Tomcat from the internet.
For the purpose of this guide I use the domain name “https://tomcat.ulyaoth.net” you should or change this to a name you own or add it for the guides purpose to you hosts file.
To edit your hosts file simply open a cmd prompt and go to: C:\Windows\System32\drivers\etc”
and type notepad hosts
It should open notepad and in the bottom just add this:
127.0.0.1 tomcat.ulyaoth.net
You might need administrator rights to do this.
Step 5: Install IIS
Windows Server:
Go to “Server Manager” and choose “Add Roles and Features Wizard” from the list here choose “Web Server (IIS)” now go further and let it install.
Windows 10:
On Windows 10 you should go to your “Control Panel” then go to “Program and Features” and then click on “Turn Windows features on or off” here you will find “Internet Information Service” which is IIS.
Step 6: Install Microsoft Web Platform Installer 5.0
Now we also have to install Microsoft Web Platform Installer 5.0 so go to the following website and download it: https://www.microsoft.com/web/downloads/platform.aspx
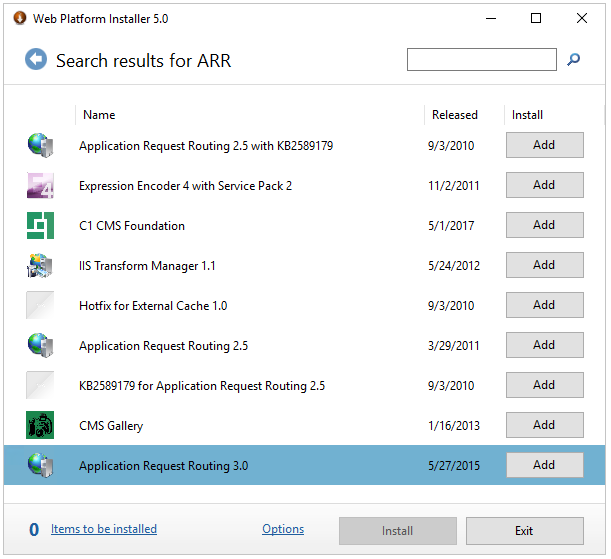
Once you have downloaded the file called “wpilauncher.exe” simply click it and after a while the app opens and in the right top corner you have a search box.
In the search box type ARR and press the enter key, you will see a list of applications that matches your search. The one we are interested in is “Application Request Routing 3.0” so find it in the list and press the “Add” button behind it:
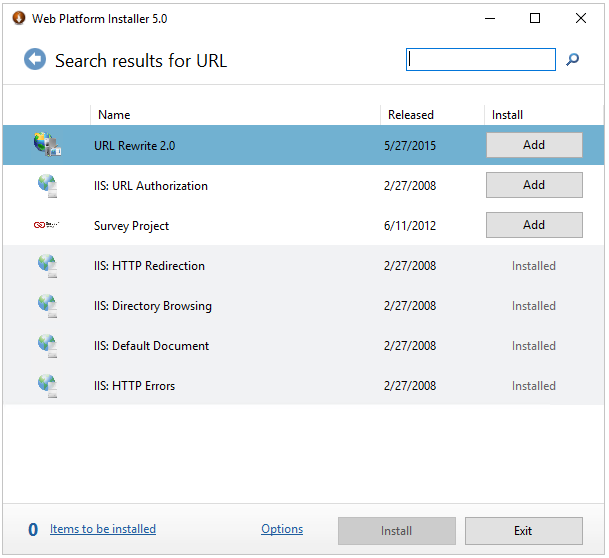
Then use the search box again in the top but this time search for “URL Rewrite” you will see then the application “URL Rewrite 2.0” now press again the “Add” button behind it:
Now you have added the two additional applications we need you can go ahead and press the “Install” button and the following popup will appear:
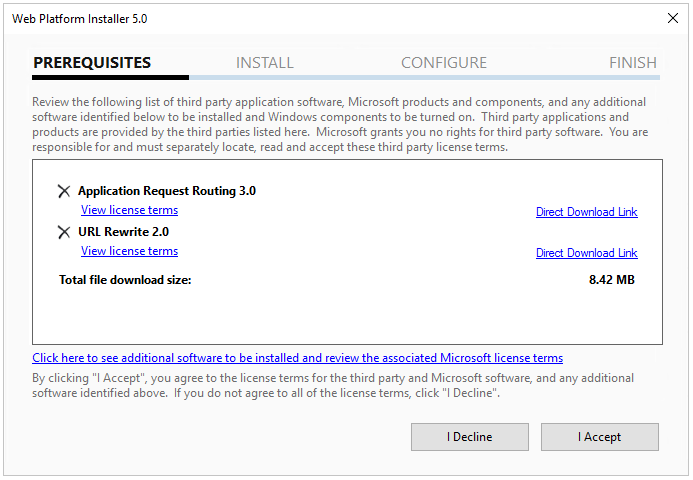
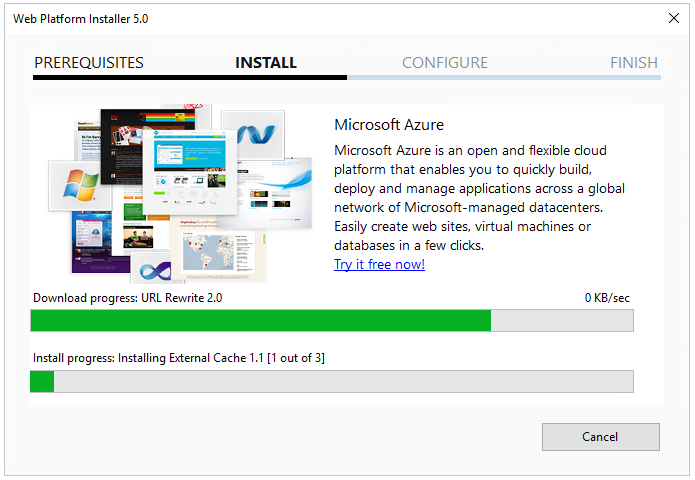
If everything looks fine as you selected press the “I Accept” button to start the installation it should look like this by now:
Once this window is finished it should show a new window confirming that everything is installed:
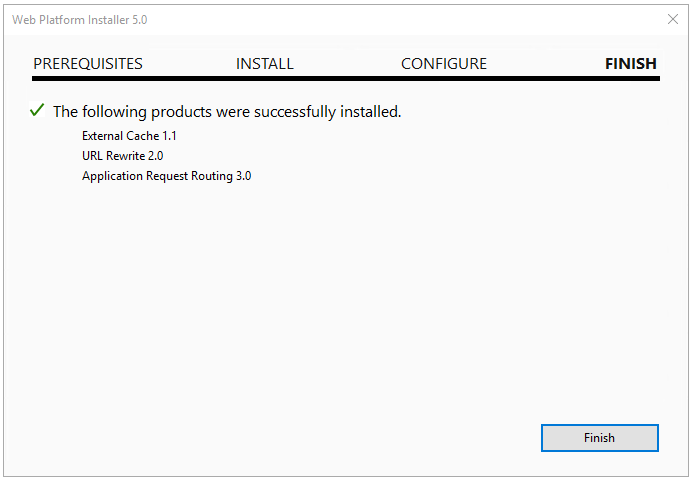
Just press on “Finish” to complete the installation and then on “Exit” to close the whole app.
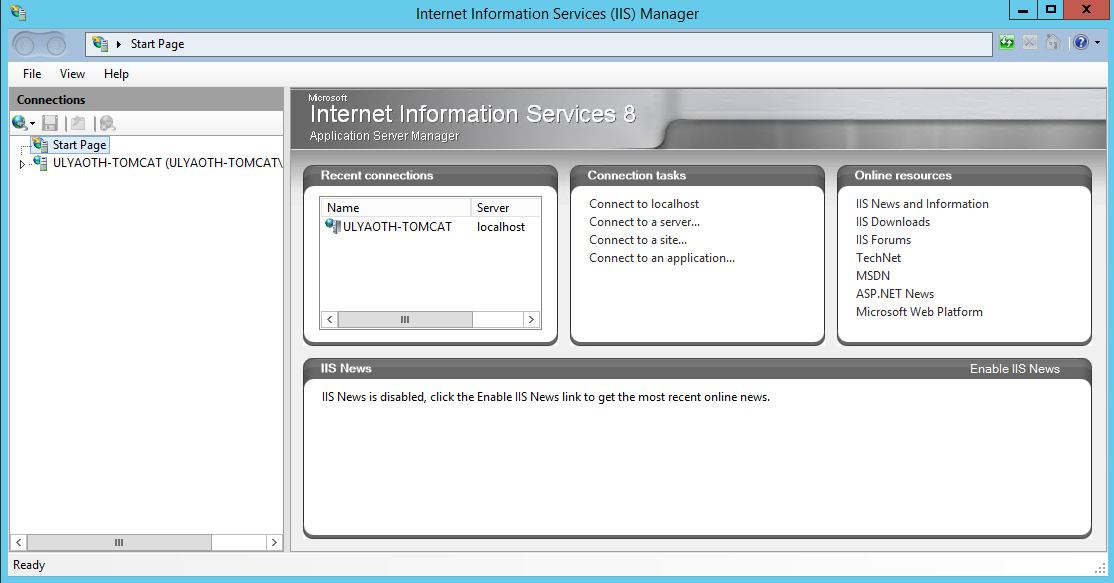
Step 7: Open IIS Manager and you should see a window as below.
Step 8: Create a new website for Tomcat as shown below
Right click on “sites” in the left part of IIS Manager and click “Add Website”.
Fill it in something like this:

It should automatically start, if you use a certificate then choose “https” at the Binding part and select your certificate at the box that appears.
Remember what I wrote before the “Site name” and “Host name” is something you should choose yourself if you use my example don’t forget to add it to your hosts file.
Now all that is left is to create the reverse proxy and this can be done in two ways, we could simply reverse proxy all traffic to tomcat or we can use a combination of IIS and Tomcat, in this case you only let certain sub folder go to tomcat.
I will show both way, in Step “9a” I show how to move “all” traffic to Tomcat and in Step “9b” I will show how to only do specific subfolders.
Step 9a: Create a reverse proxy in IIS to Tomcat for all traffic.
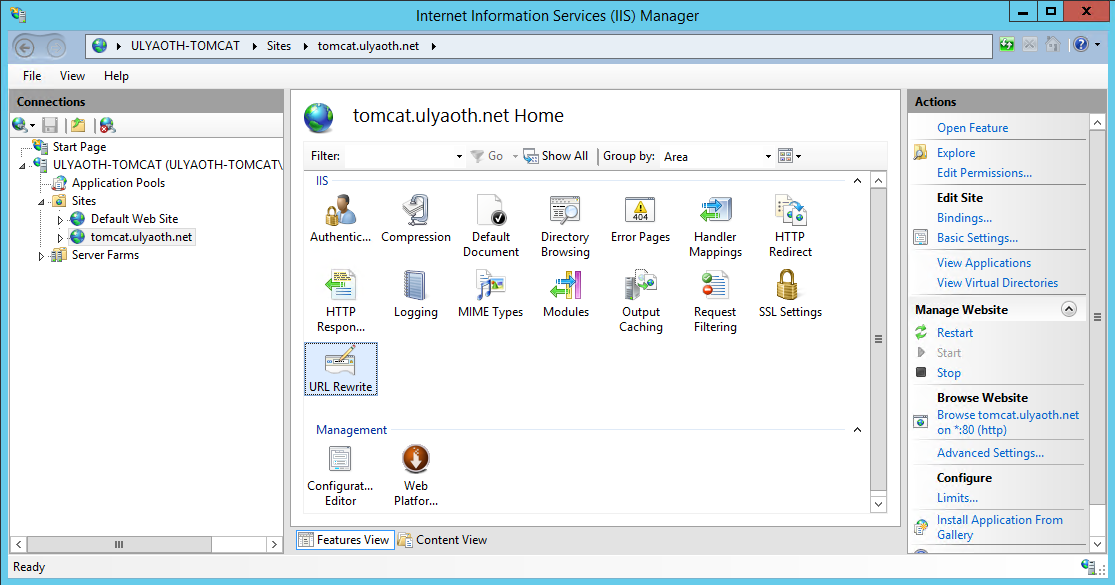
Click on your newly created name in the left window mine is called “tomcat.ulyaoth.net” and then in the left window allot of icons will appear:
Now double click on the icon “Rewrite URL” and then in the right window click on “Add Rules(s)…”, and a window should popup that looks like this:
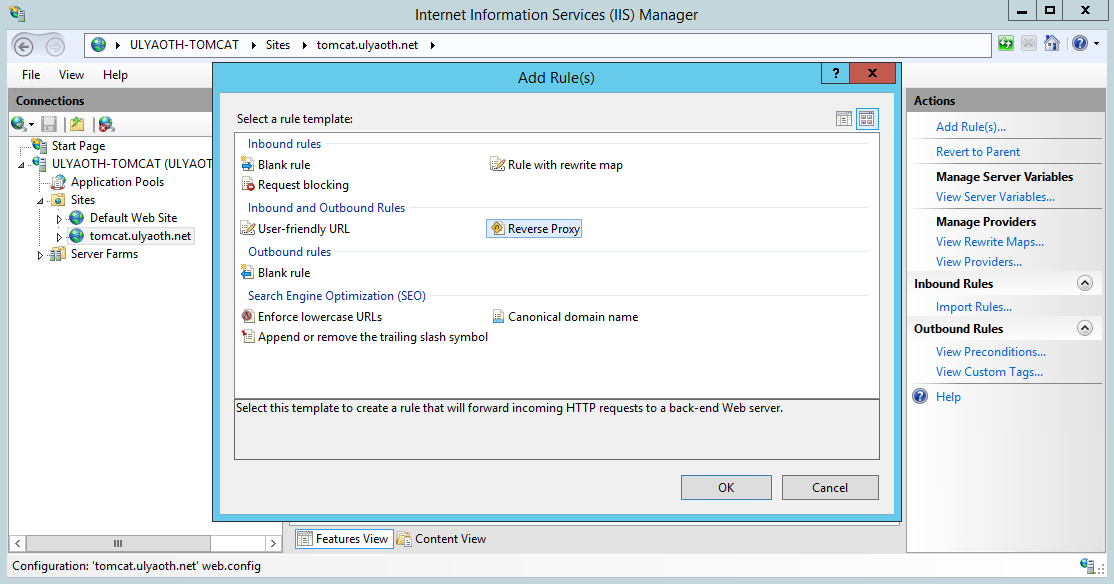
Now click on “Reverse Proxy” and you probably get a Warning message about ARR (if you ever done this before you won’t see it):
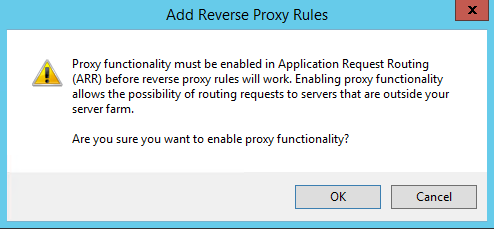
So press the button “OK” and you will see the “Reverse Proxy” window as below:
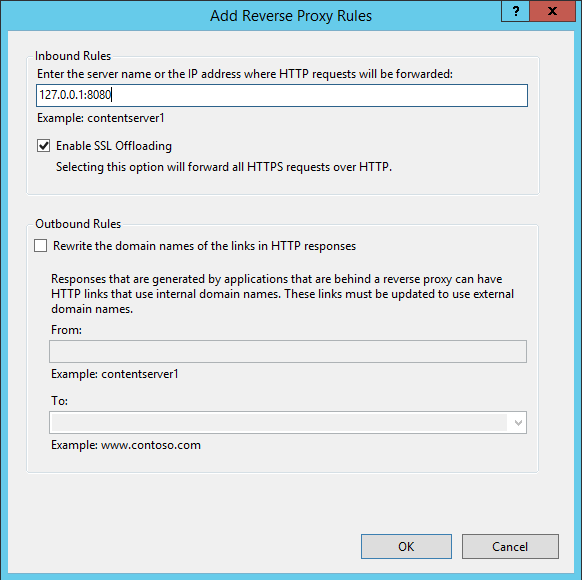
Now make sure you fill everything in exactly as I did above:
Inbound Rules: 127.0.01:8080
And if you did choose “https” for your website then also enable the option: Enable SSL Offloading
Now you should have everything as I did so go ahead and press on the “OK” button.
To explain it in short the ip you entered “127.0.0.1” and port “8080” this is where Tomcat will run under and you are basically making tunnel to get data from that internal program to people that will connect to your domain. If you change Tomcat’s port then you of-course have to update the above reverse proxy rule.
So now let’s test in the browser by going to “tomcat.ulyaoth.net” (or the domain you choose):
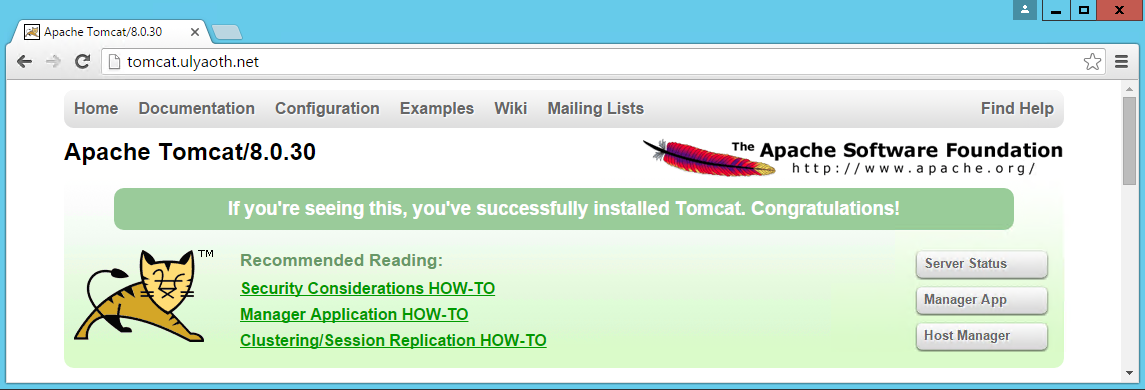
And as you see all traffic is now going to Tomcat and since it is going trough IIS you can use all options available from IIS in front of Tomcat.
However as I wrote Step “9a” is where all traffic goes to Tomcat, now lets set it up slightly more advanced and only point certain parts to Tomcat.
Step 9b: Create a reverse proxy in IIS to Tomcat for certain parts only.
In order to do this you simply first do all steps of “9a” this is the base required, once you have done this you go back to the “Rewrite” tab and you should see the “Reverse Proxy” rule like this:
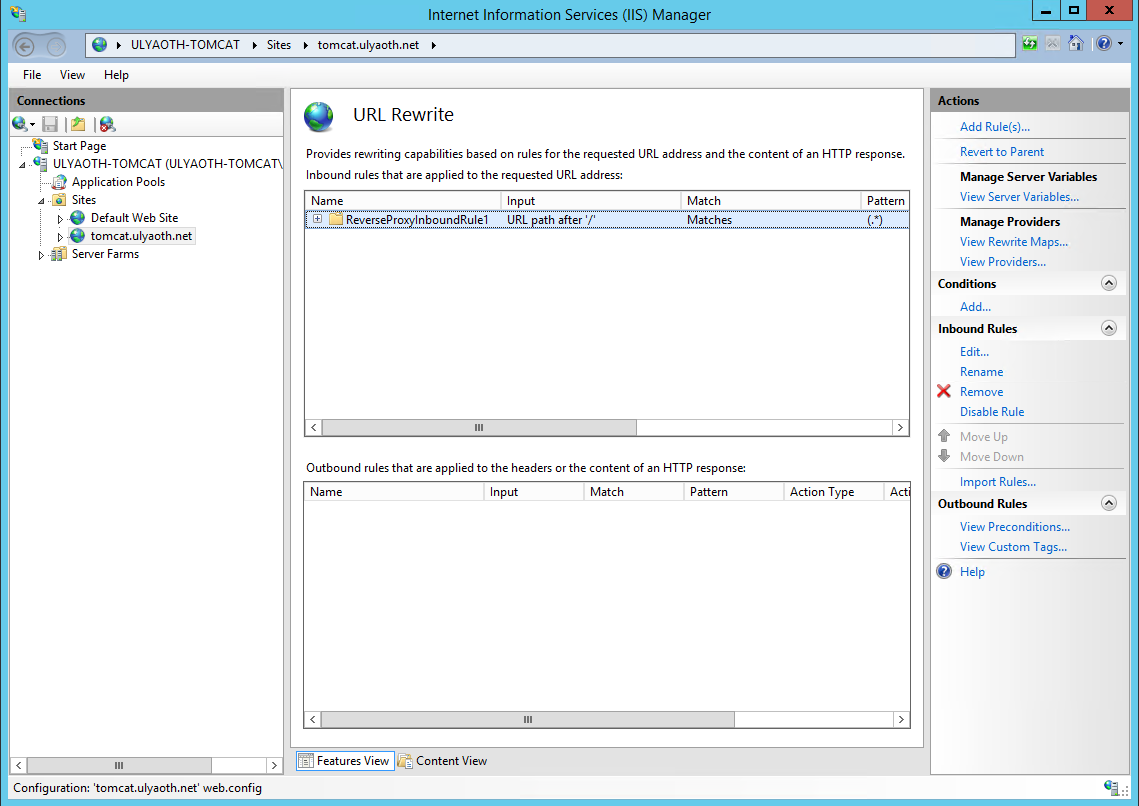
Now double click the reverse proxy rule called “ReverseProxyInboundRule1” and you should see the following:
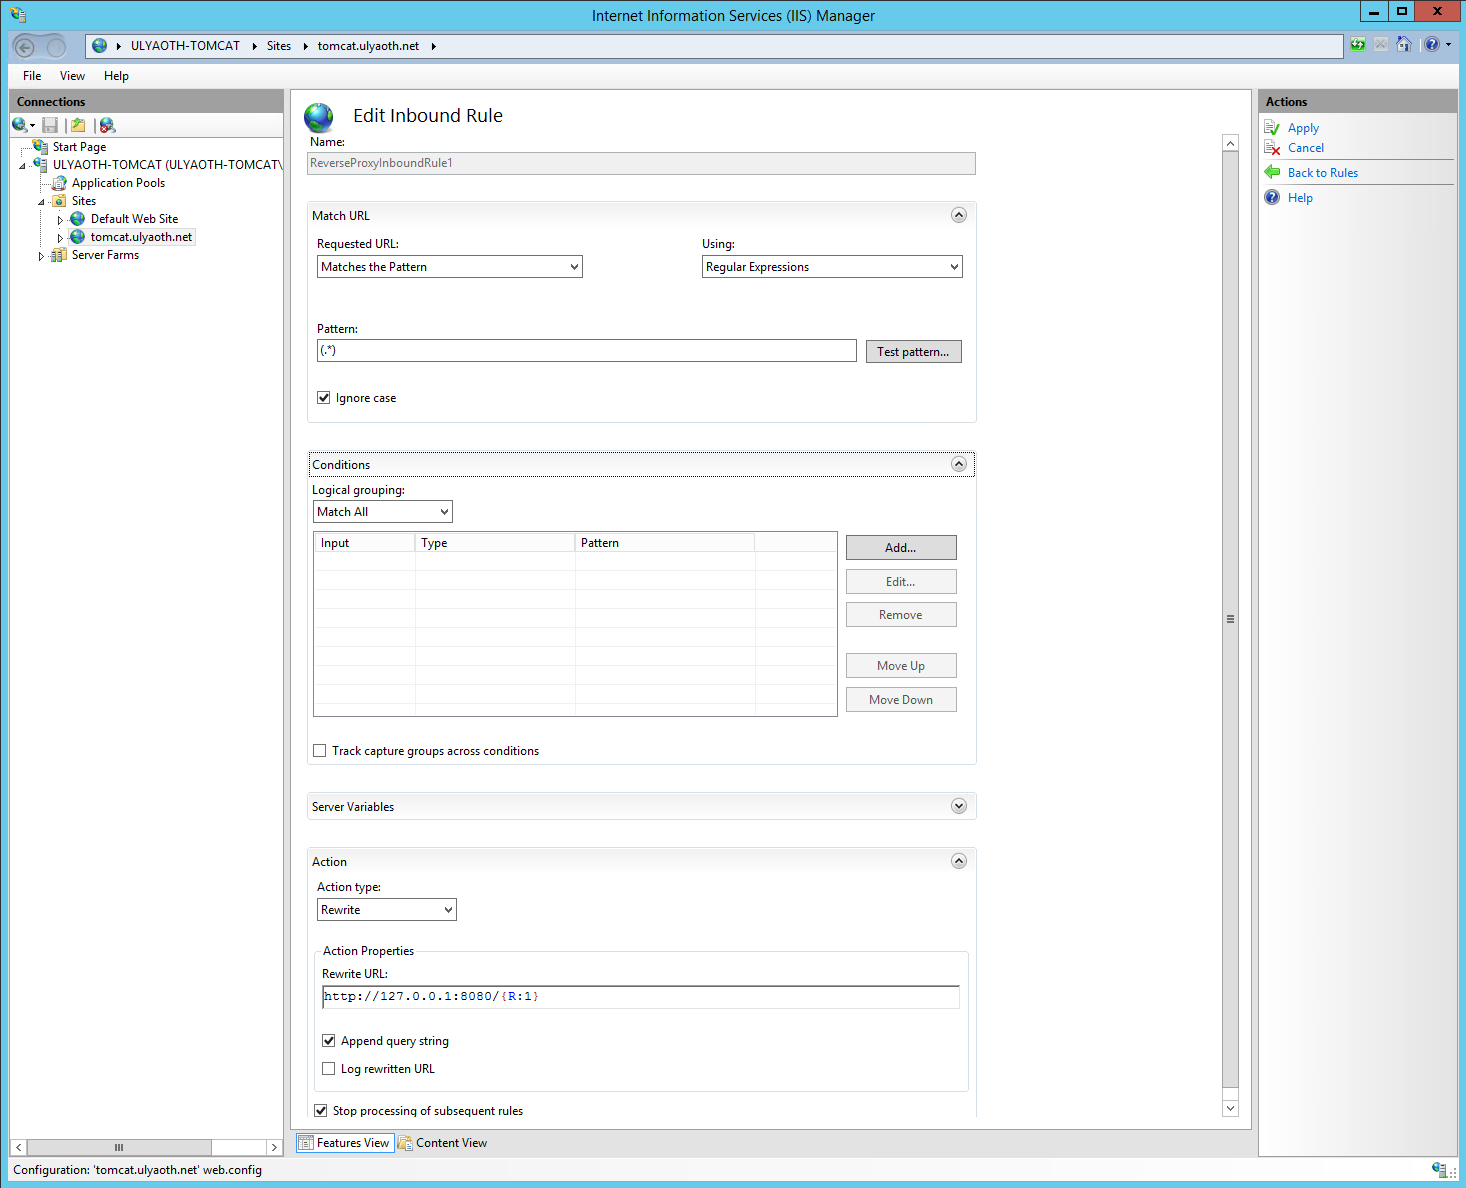
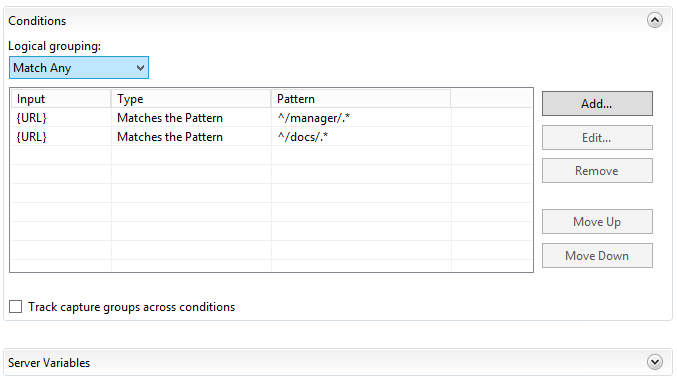
It might be your “Conditions” part is closed but just click the text and it opens, so as we discussed before in Step 9a this rule simply sents all traffic to Tomcat but we not want this.
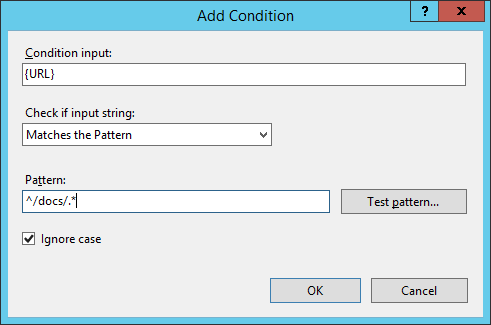
So in the “Conditions” box click right on the “Add..” button it should show a window called “Add Condition” fill this window in like this:
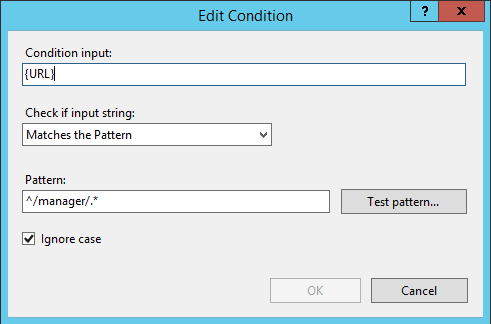
And once done press on the “OK” Button and you should see the Condition has been added like this:
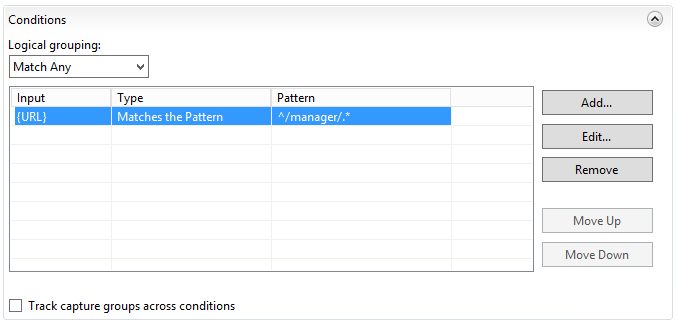
If it looks like above on your “Edit Inbound Rule” page then in the right top corner press on “Apply” to save your rule.
So if you now browse to your website “tomcat.ulyaoth.net” (or what you choose) you see this time the IIS website:
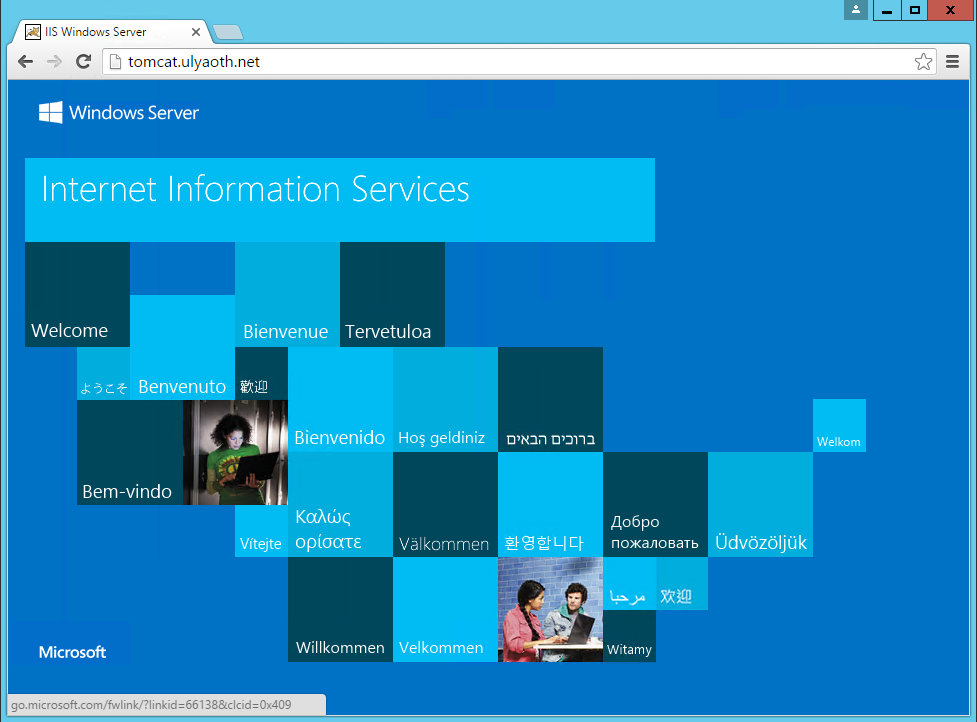
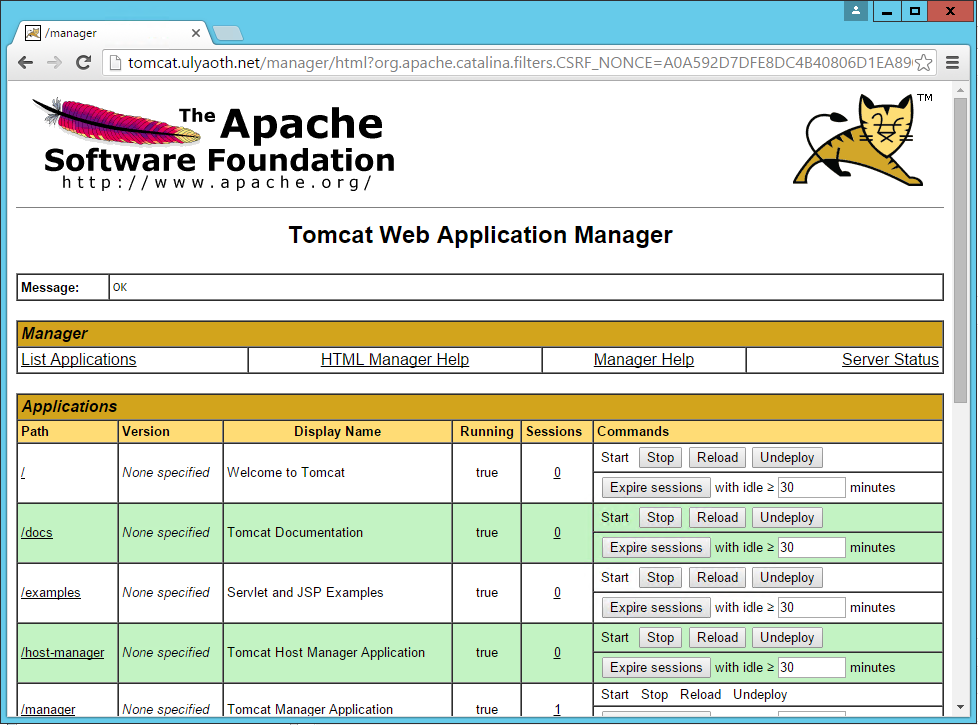
But if we now go to the Tomcat management page at “tomcat.ulyaoth.net/manager/” (or what you choose) you see it does the reverse proxy bit for “/manager/” correctly towards your Tomcat installation:
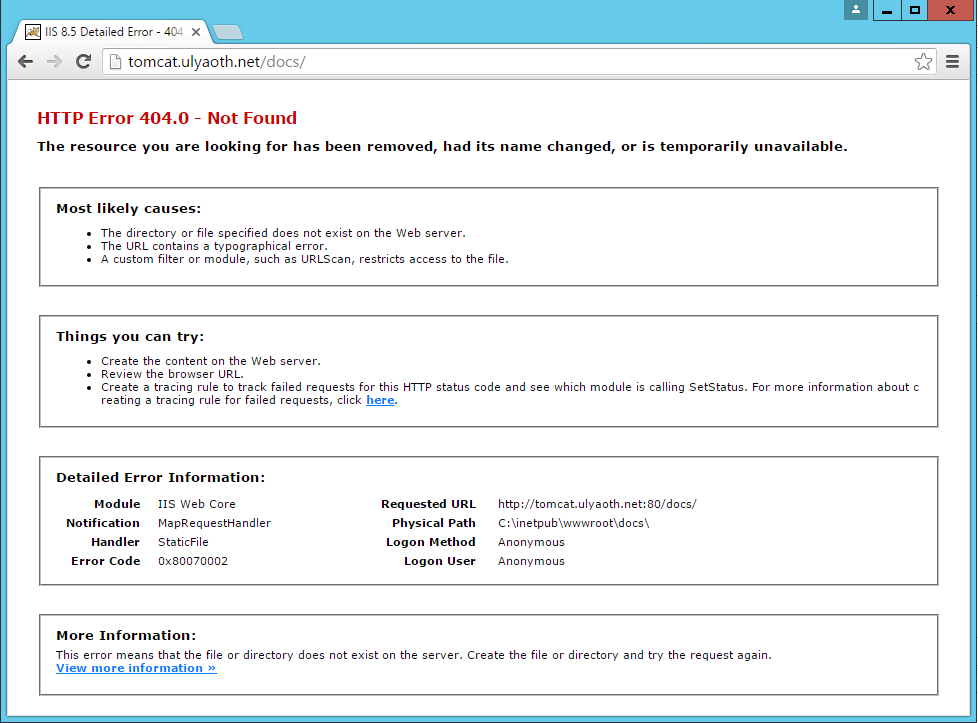
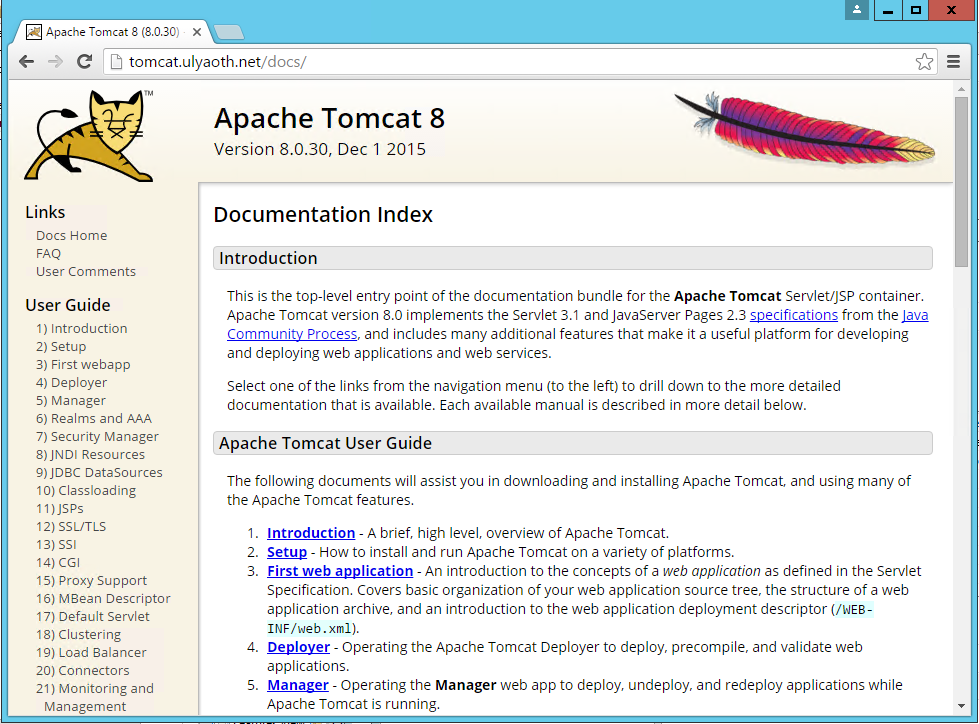
So if you want to have different things go to tomcat you simply add “Conditions” to you rewrite rule another example is /docs/ for the Tomcat documentation if you would try this now it won’t work and you just see this: (tomcat.ulyaoth.net/docs/)
So all you do is add another condition to your reverse proxy rule like this:
And if we now go again to “tomcat.ulyaoth.net/docs/” we this time see:
Well that is all, I hope this will help someone please!