
Got a question on how to install the AWS CLI on Windows 10, so I will provide some steps below.
Start by going to the following website: https://aws.amazon.com/cli/
At the time of writing this post the page looks like this: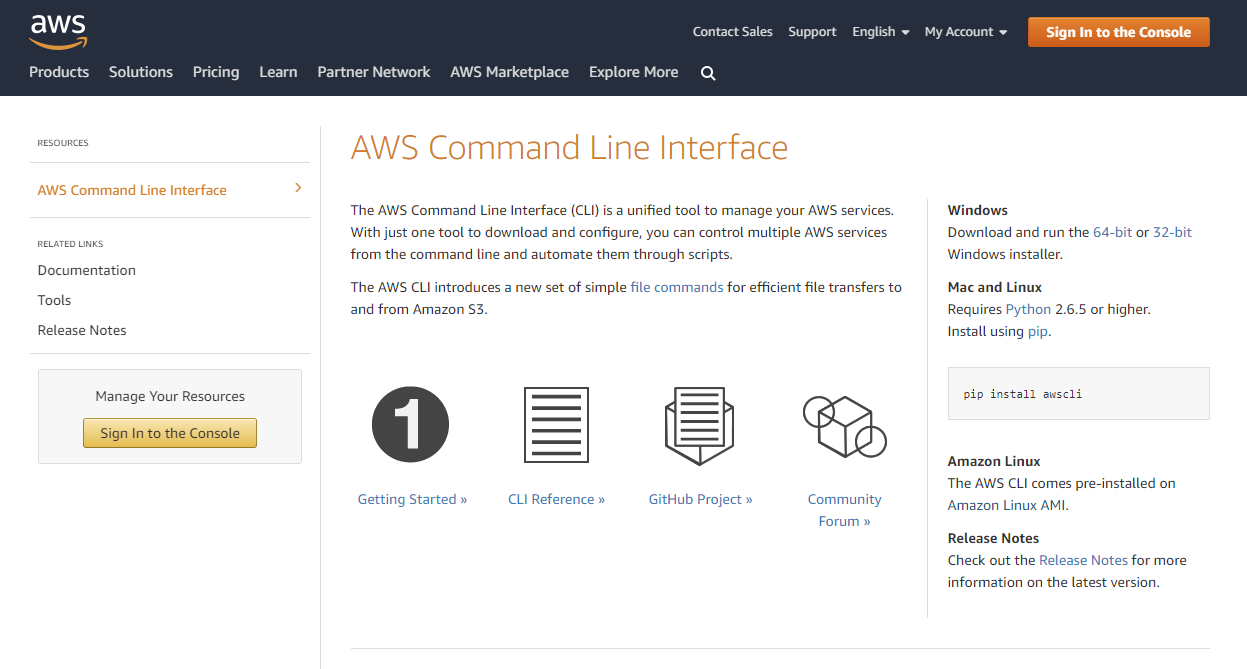
Now click on the windows installer link to download your version:
I will go for the 64-bit version and once you clicked the link it should download the following file:
AWSCLI64PY3.msi
Double click on this file to start the installation: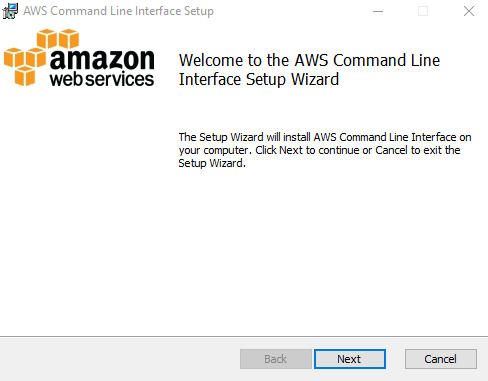
Just click on the “Next” button to see: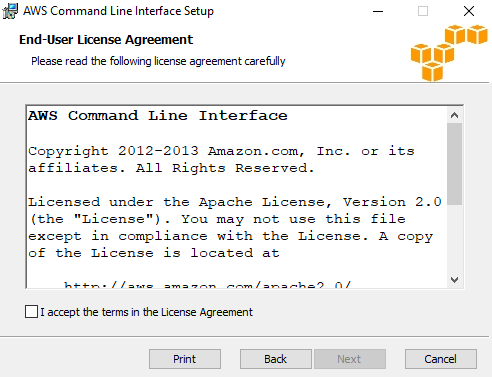
Now read the term so you know what you are accepting and then click the “I accept the terms in the License Agreement” box: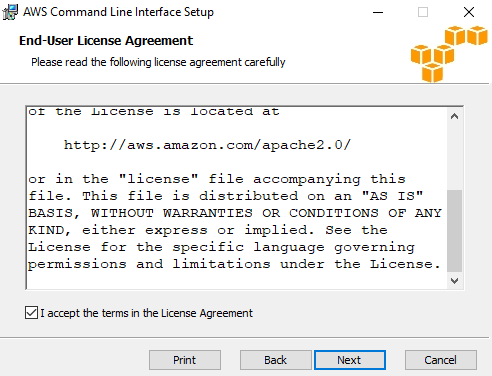
And then press the next button: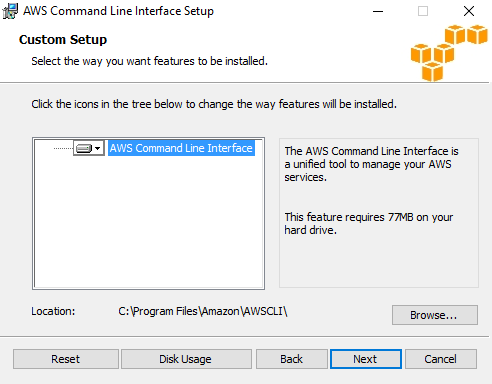
Just leave everything default, or if you really want to choose your own install location, but for me, I press simply the “Next” button again.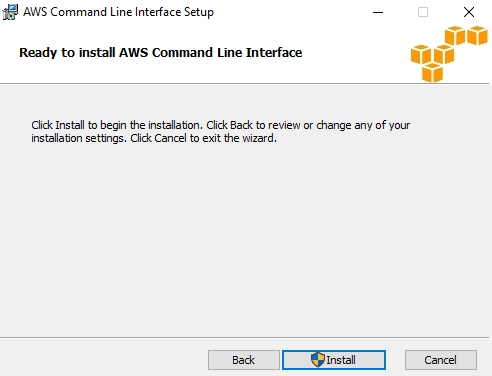
To continue here press on the “Install” button, this will ask you to allow it to use admin permission so when you see this popup then accept that it so you can continue with the installation, afterward you will see it start the installing the AWS CLI: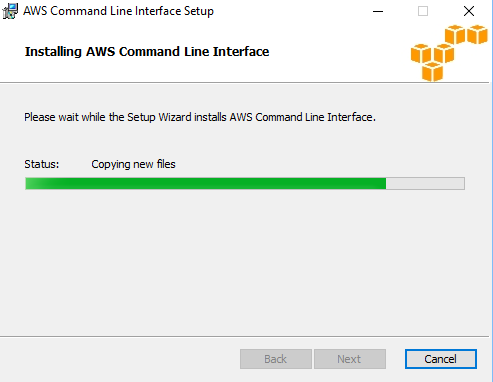
after a while you will see it finish: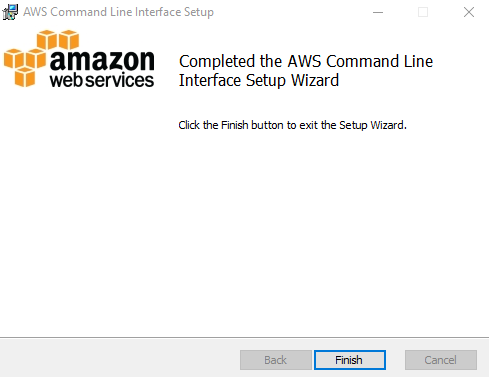
so simply press the “Finish” button to complete the installation!
Congratulation, that was really all you had to do to install the AWS CLI.
Now to actually use it we need to do a few more steps to configure the CLI, for this guide purpose we will create a user that has access to a single S3 bucket and can copy and delete files to this bucket.
I think that should give you a good idea how to configure the CLI, never give a user permission to everything always restrict the CLI access to specific things.
Go to the AWS website and search for IAM and click on it:
You should a page now like this: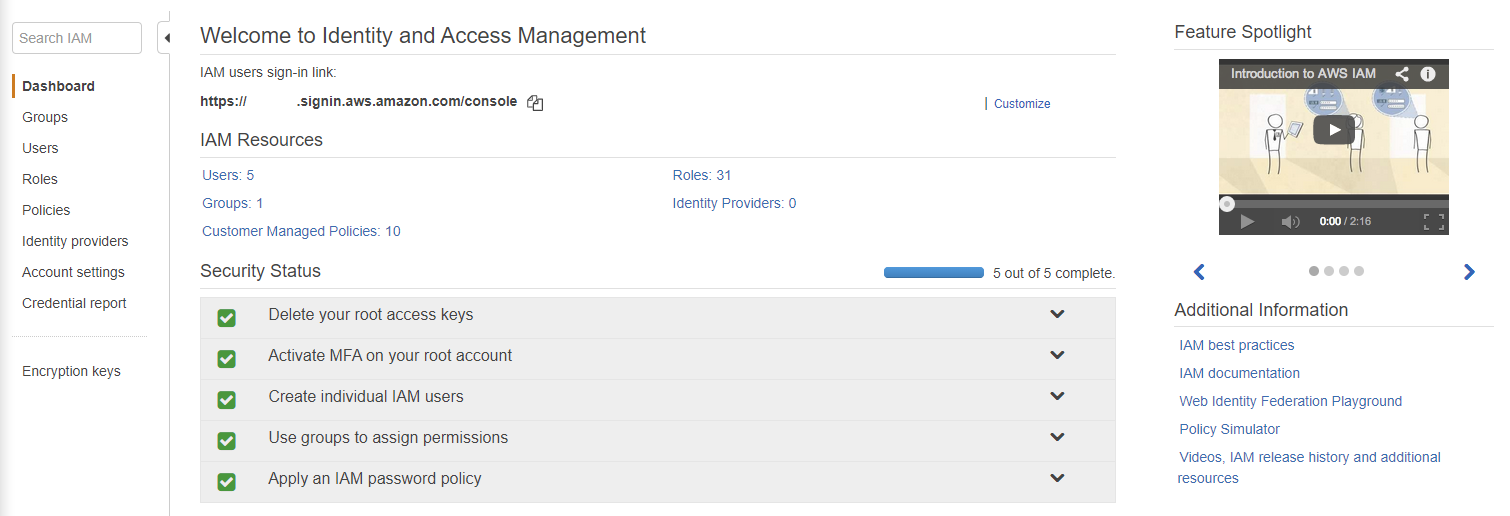
I hope that you are already familiar with IAM by now :), from this page click on the “Users” link in the left menu:
And on the next page click on the blue button called “Add user” and you see: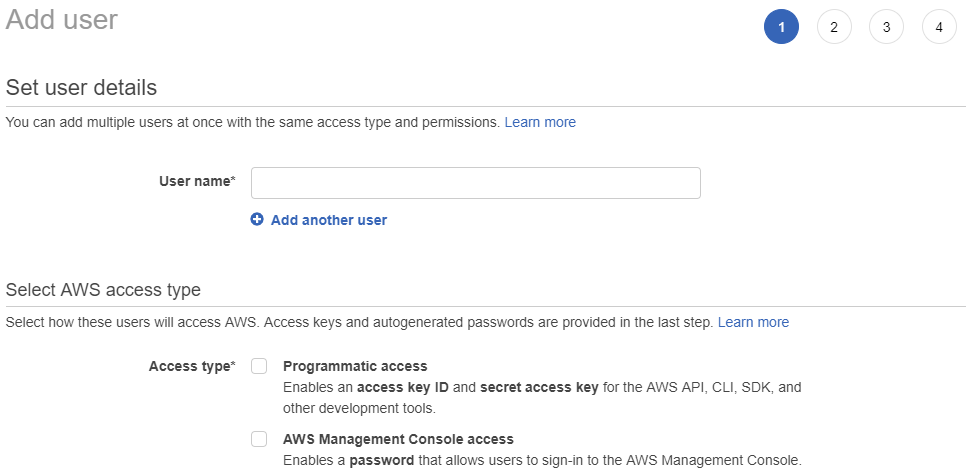
I will fill it in as follows:
User name*: ulyaoth-s3-tutorials-cli
Access type*: Programmatic access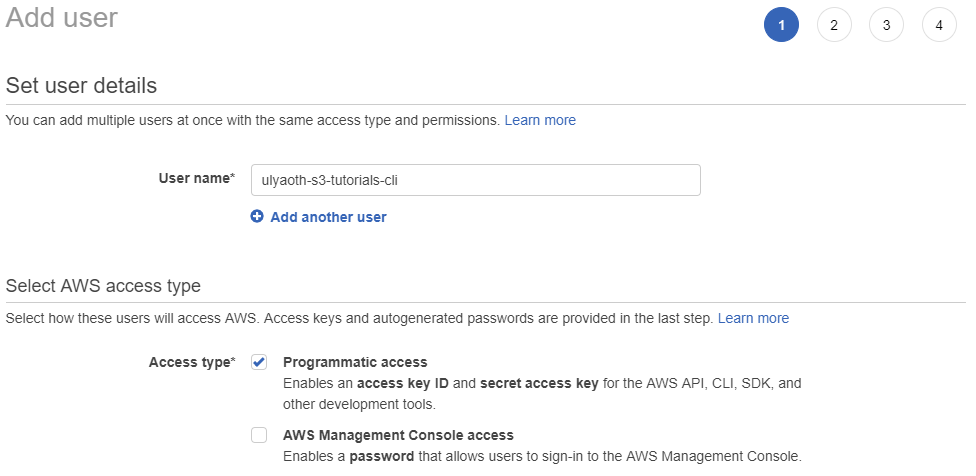
So make sure to choose your own username and only choose “Programmatic access” and then click on “Next: Permissions” and you see: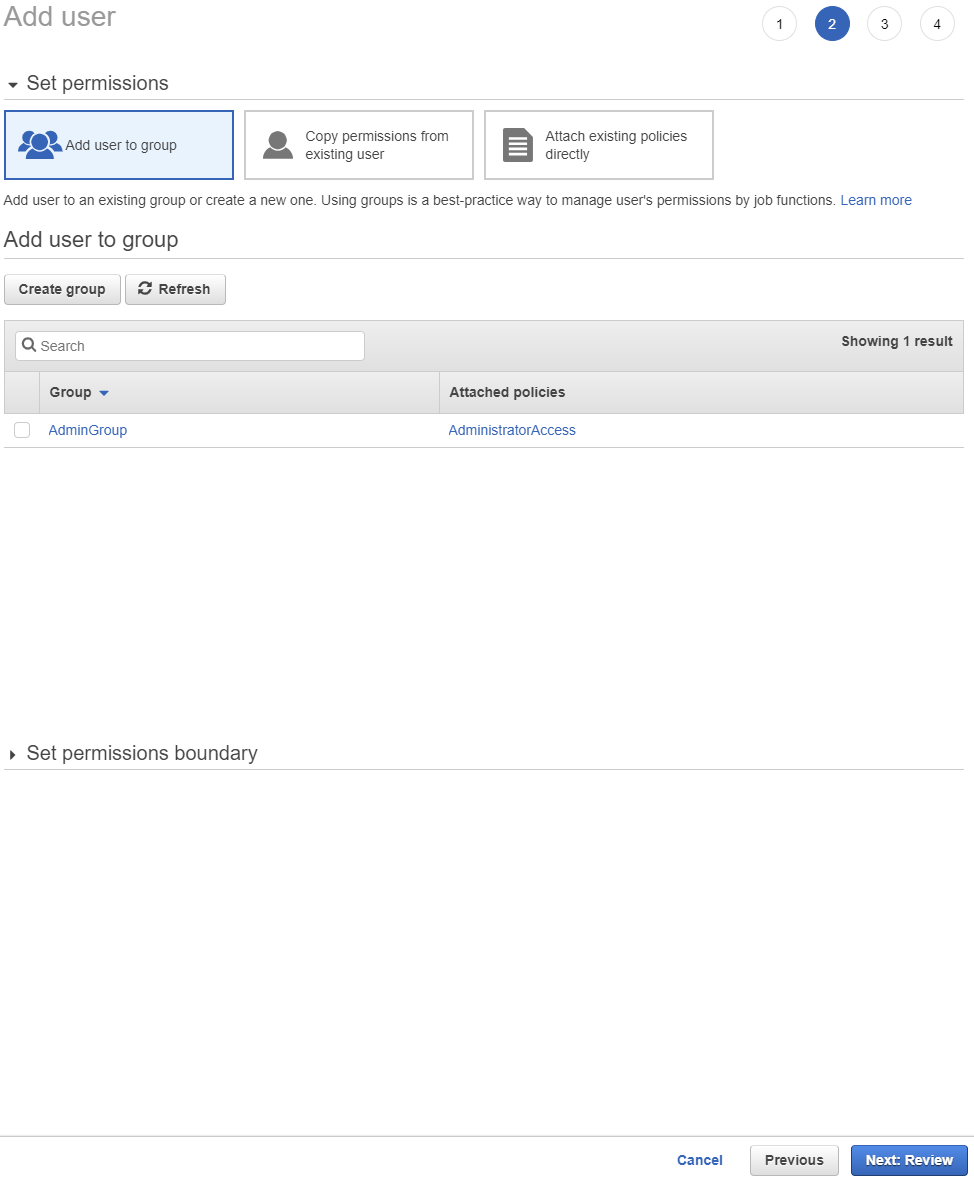
Now it is best practice to use groups because perhaps you want to create a CLI user with the same permission again in the future.
So on this page click on the “Create group” button and you see: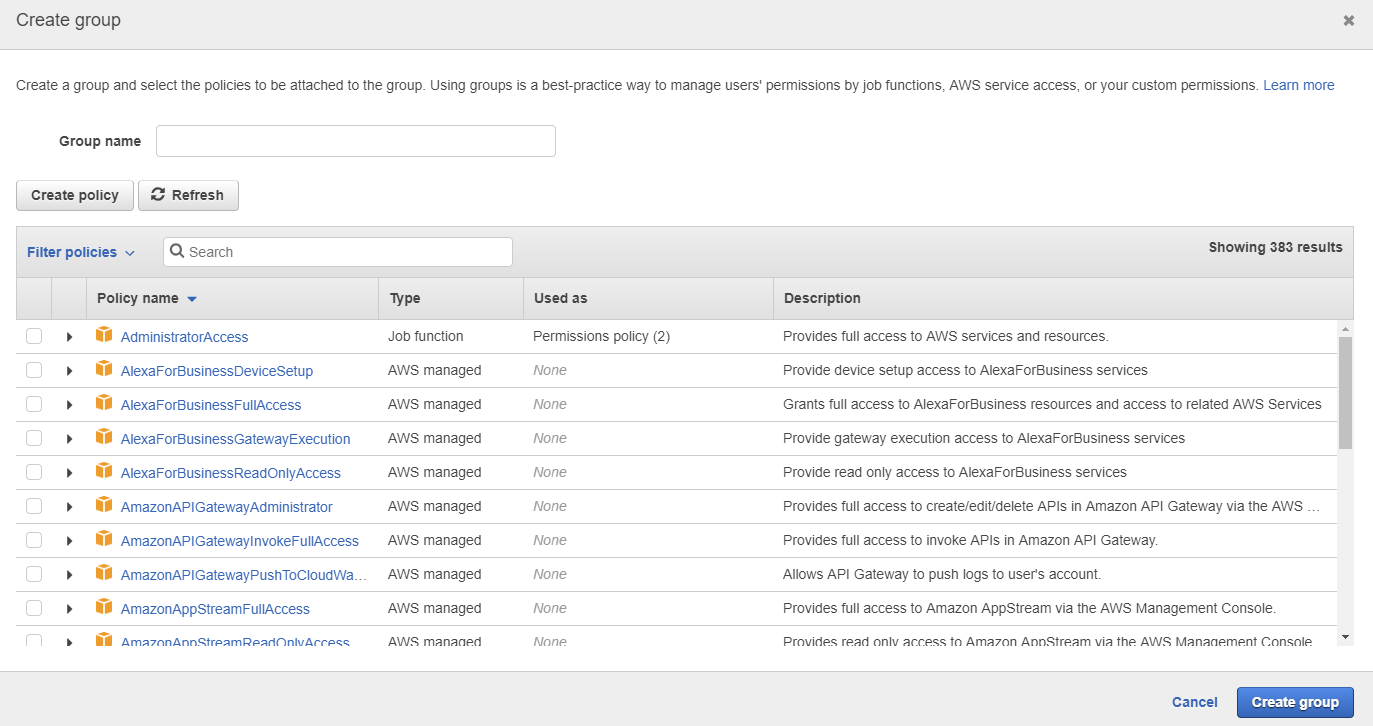
Start by click on the button “Create policy” this should open a new page: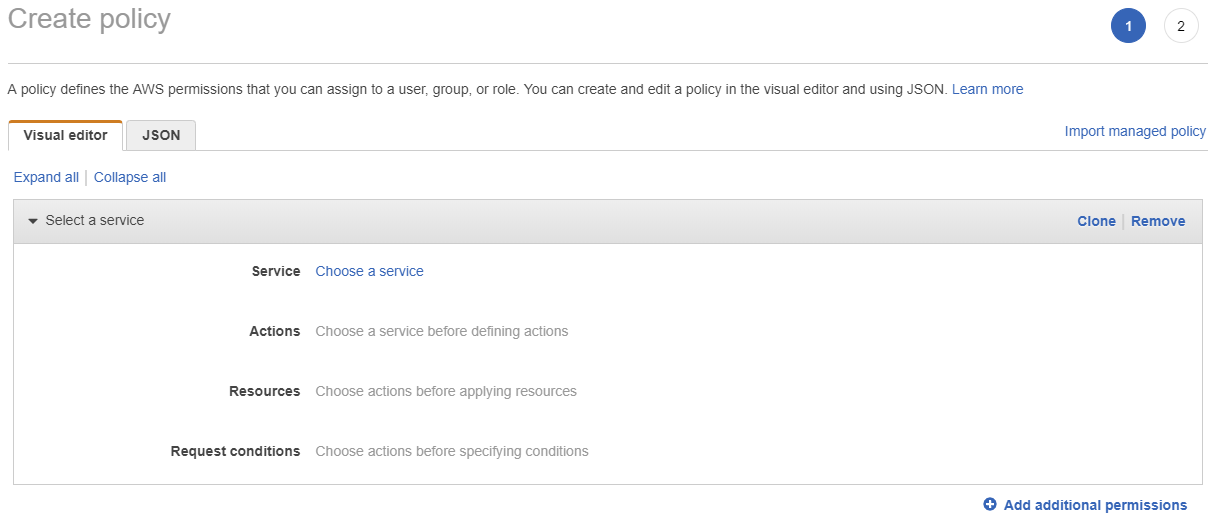
fill in this page as follows:
Service: S3
Actions: (Click the box in front of “List”, “Read”, “Write”):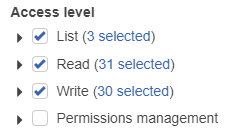
Resource: Specific
Bucket: (press on “Add ARN” and fill in your bucket ARN and press on “Add”):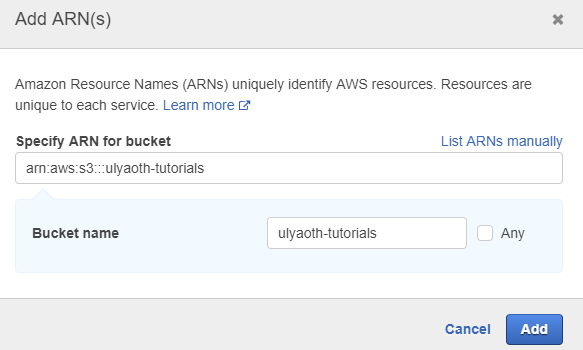
Request conditions: (choose nothing)
If you did, all the same, it now looks as follows: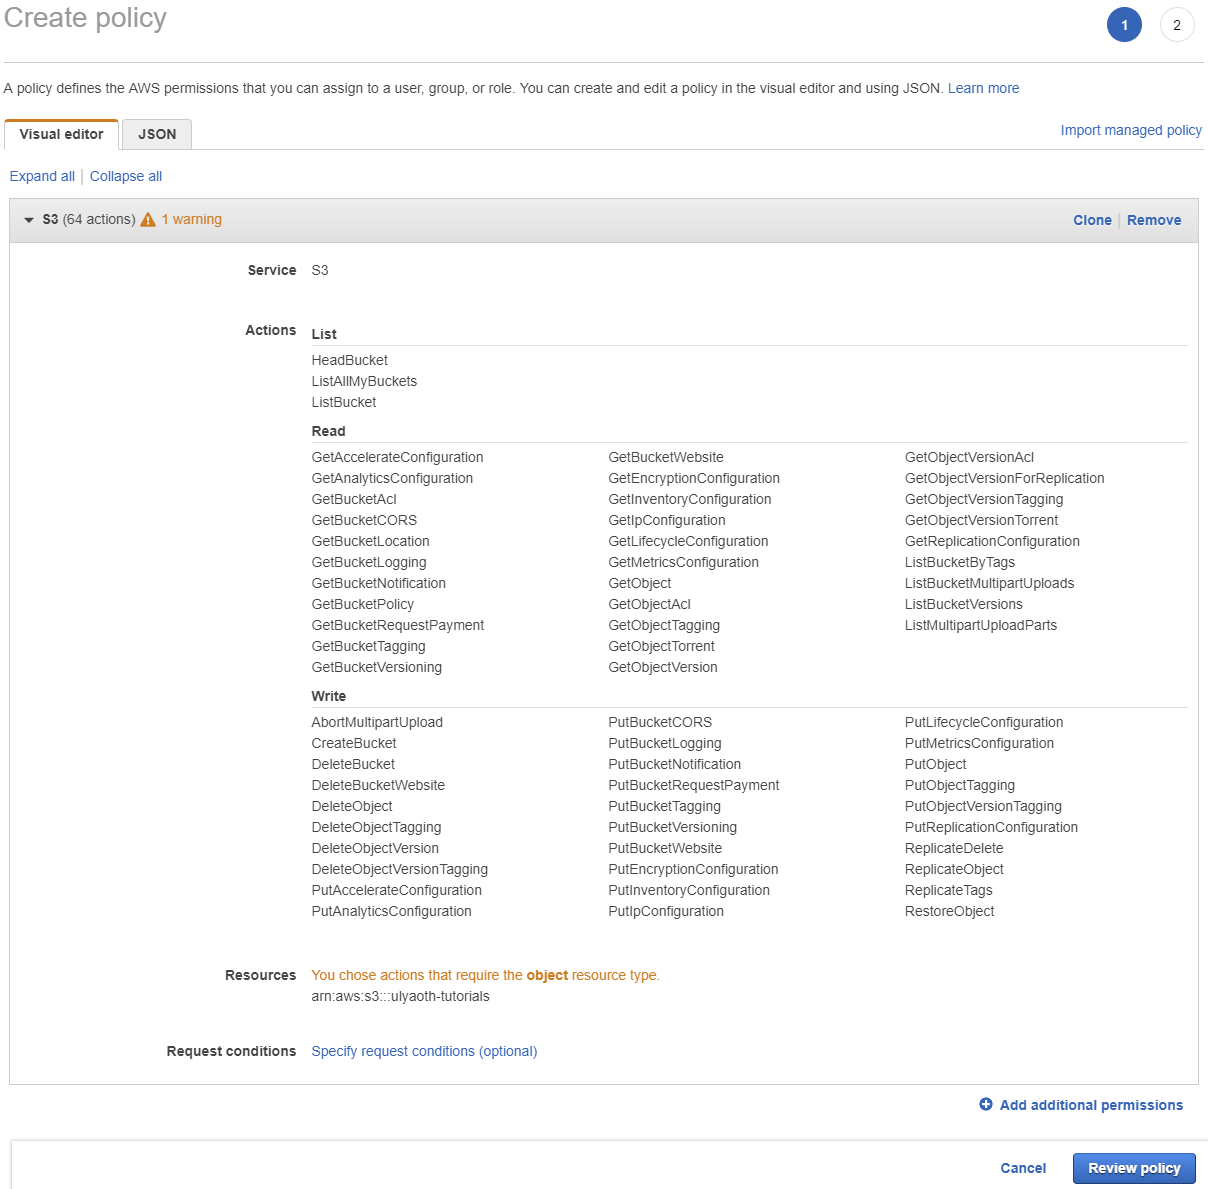
If all look the same press on the blue button “Review policy” and you see the following page: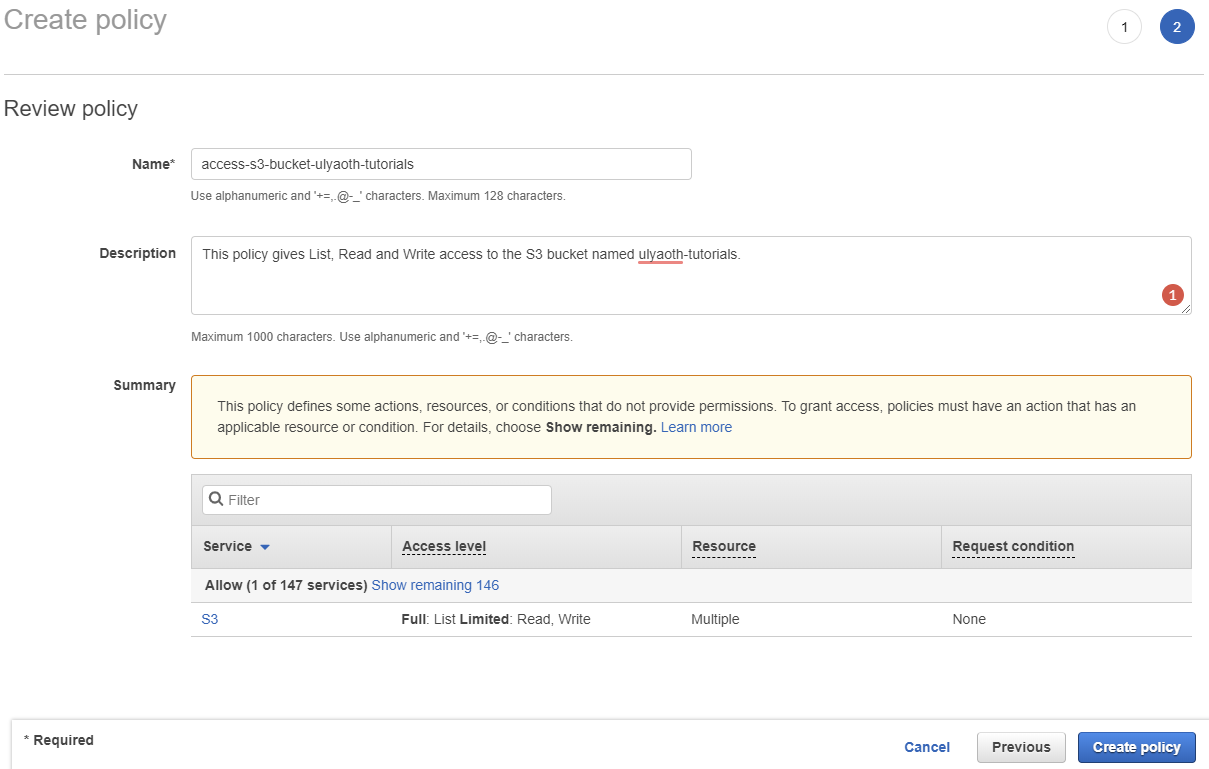
Fill the page in similar as I did above:
Name: access-s3-bucket-ulyaoth-tutorials
Description: (choose yourself something)
And then press on the blue button “Create policy” and close the browser tab so you go back to the “Create group” tab.
On this tab press the “Refresh” button and you can now search for the above-chosen policy “access-s3-bucket-ulyaoth-tutorials” and select it, and also choose a “Group name”.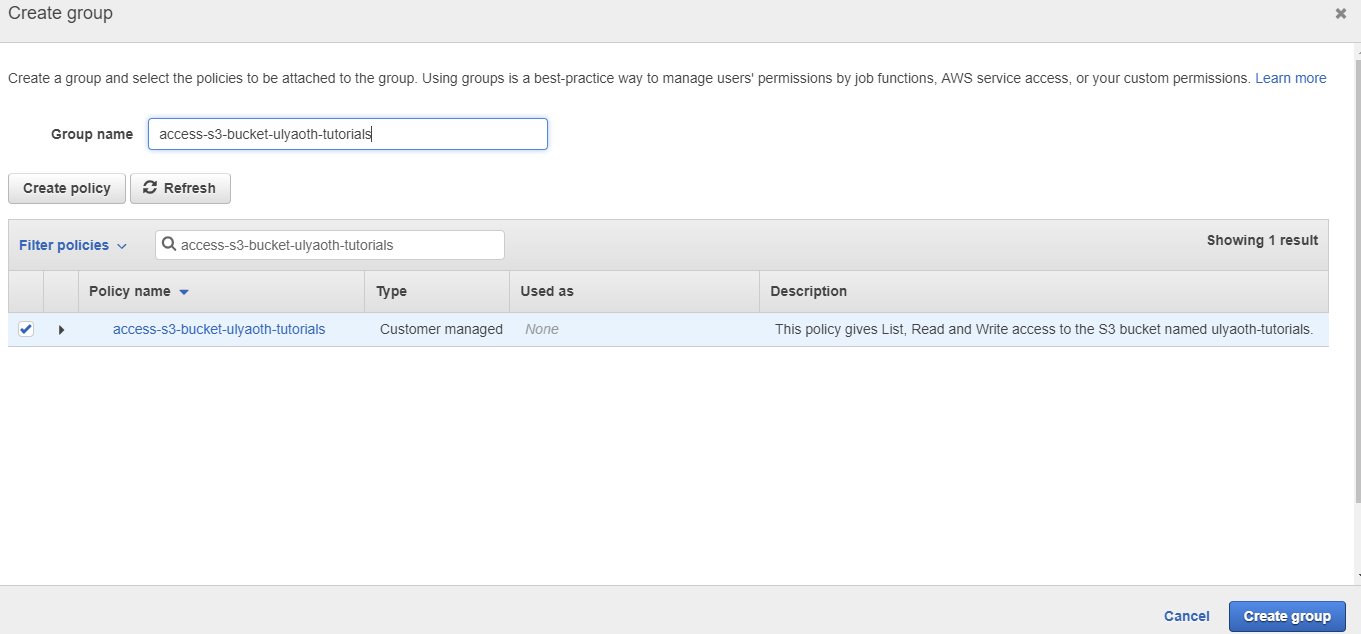
If all looks the same press on the blue button “Create group” and you come back to your “Add user” page which should look as follows now: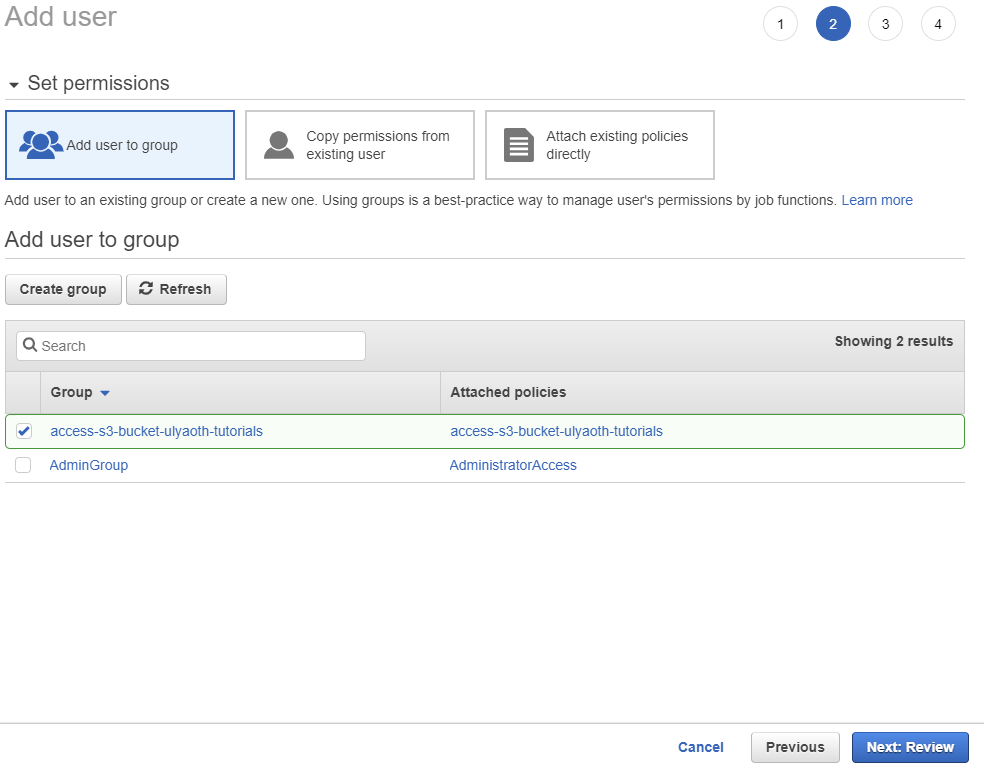
If all looks fine then press the blue button “Next: Review” and it should look as follows: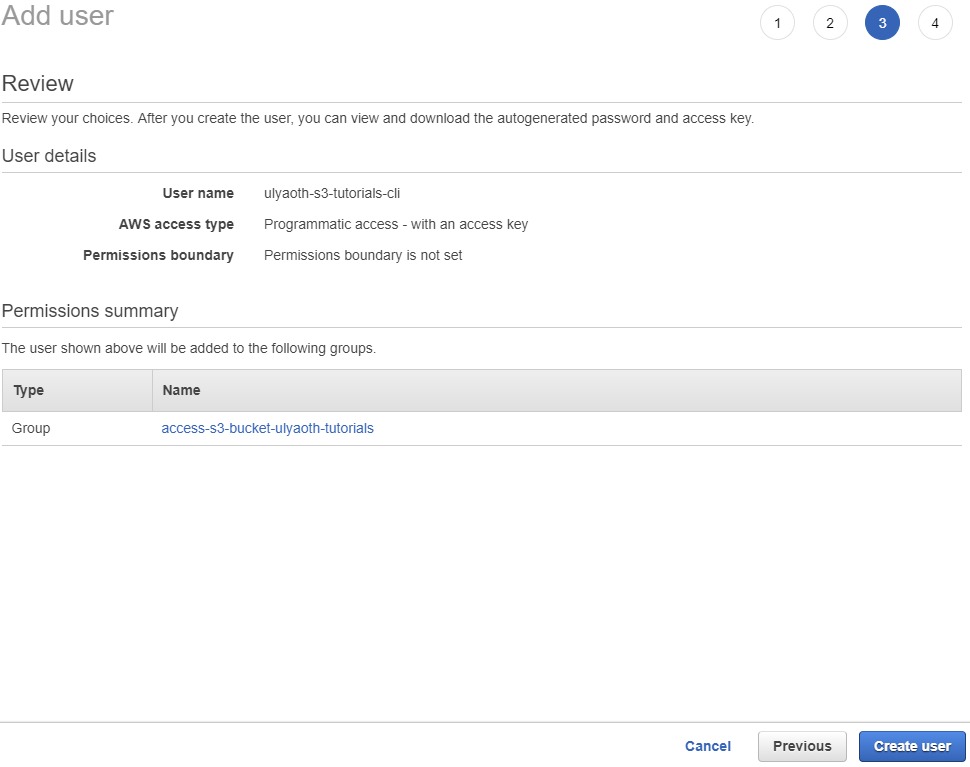
If it all looks fine press on the “Create user” button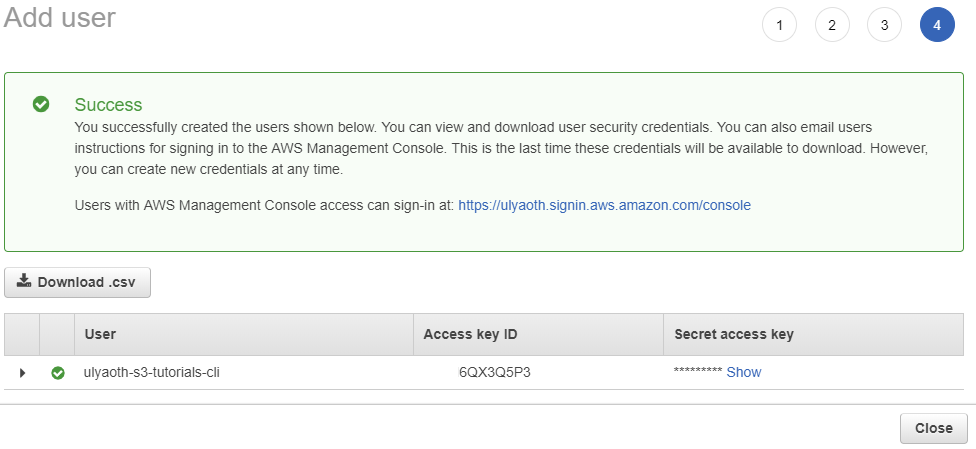
Now on this page, it is important to note down the “Access key ID” and the “Secret access key”, copy this to your password vault. You should never share this information with anyone else as anyone could install the CLI then and do whatever your permissions allow. This is also why you should give specific permission to a CLI user and not all permissions.
If you have written down your information or downloaded the “.csv” file that contains the same you can press the “Close” button.
Great job! you just created yourself a user and assigned it minimal permissions, so let us continue with configuring the AWS CLI.
Now on your Windows 10 machine press “Windows Key + R” this will open “Run” and type in CMD: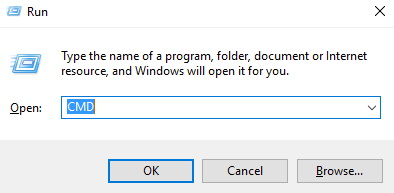
When it looks same press on “OK” to open a Command Prompt:
in this command prompt type:aws configure
I will now ask for your information so fill it in with the information you downloaded:
AWS Access Key ID [NONE]: xxxxxxxxxxxxxxx
AWS Secret Access Key [NONE]: ***********
Default region name [NONE]: (in my case I pressed just Enter)
Default output format [NONE]: JSON
It should look similar to: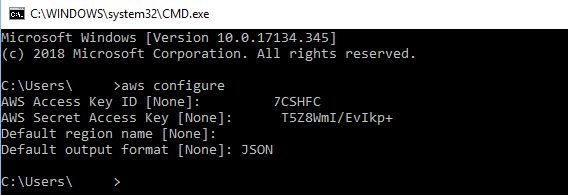
Again congratulations you have now configured the AWS CLI with your user and you can start using it.
So, for example, list your S3 buckets content type:aws s3 ls ulyaoth-tutorials
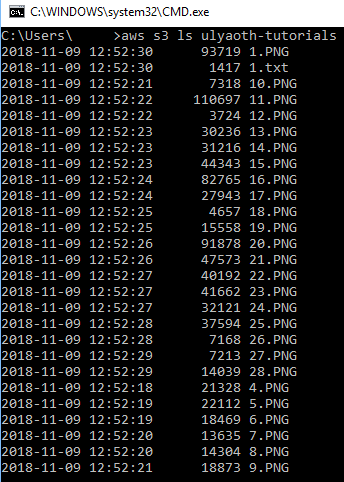
And as you see it shows you the files in this bucket! you can type the command:aws s3 help
to get more information about what commands you can run! Remember we only assigned “List”, “Read” and “Write” access to this bucket.
I hope this helped someone.