In this guide, I will show some simple steps of how to set up a MongoDB installation in replication on Windows Server.
This guide was tested with:
Windows Server 2019
I am using AWS for this setup and created three servers that have Windows Server 2019 installed.
Server Type: t2.large (T Server Type is probably not a good match for a production DB however for this tutorial it is cheap and will do its part)
mongodb01: 172.31.38.70
mongodb02: 172.31.35.197
mongodb03: 172.31.47.236
As a pre-requirement all servers should be in the same workgroup or in the same domain, if they are not then you have to add all the servers in your hosts file so MongoDB knows how to connect to them.
So let us start!
Step 1: Download MongoDB (on all three servers)
MongoDB provides windows installer packages so simply download their msi file from their website https://www.mongodb.com/.
https://fastdl.mongodb.org/win32/mongodb-win32-x86_64-2008plus-ssl-4.0.12-signed.msi
Even it does say Windows Server 2008 it does work perfectly fine on Windows Server 2019!
Step 2: Install MongoDB
Just follow the pictures below to install MongoDB, you have to do this on all three servers.
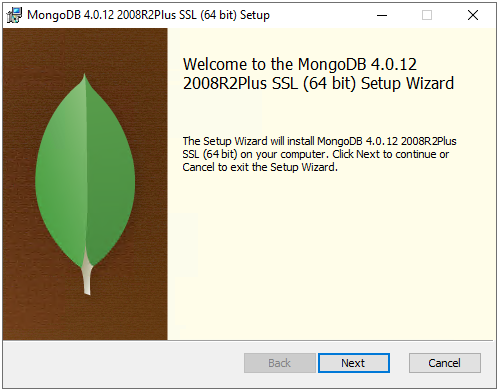
Just press next on the picture above.
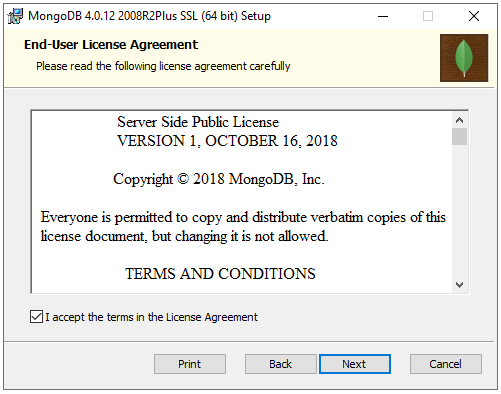
Read the license and then tick the box you accept the license and press next on the picture above.
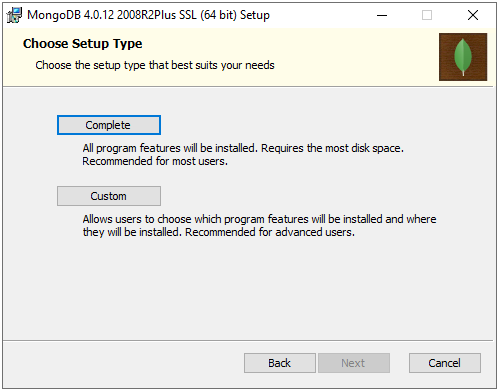
Press you wish to install the “Complete” version on the picture above.
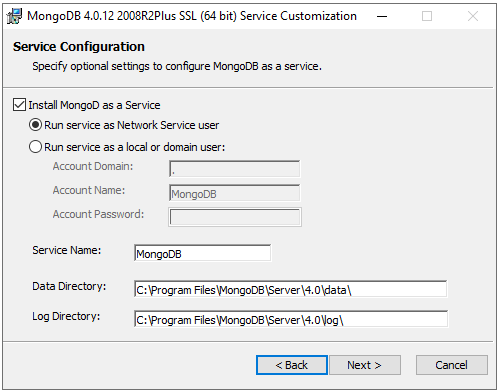
I will leave everything default for this tutorial and simply press “Next” to continue.
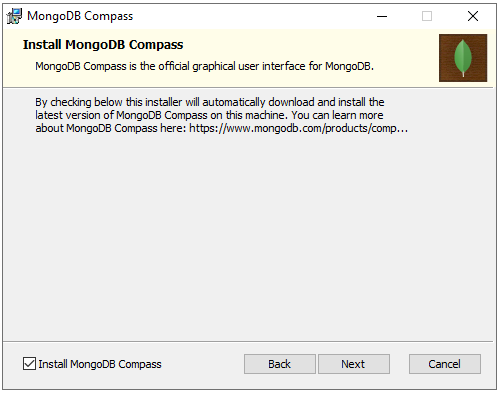
I will again leave everything selected and click once more on “Next” to continue.
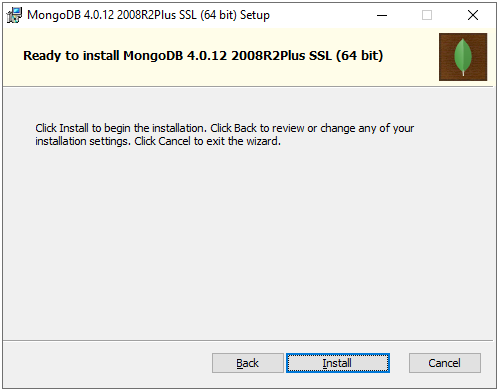
You can now press the “Install” button to start the installation.
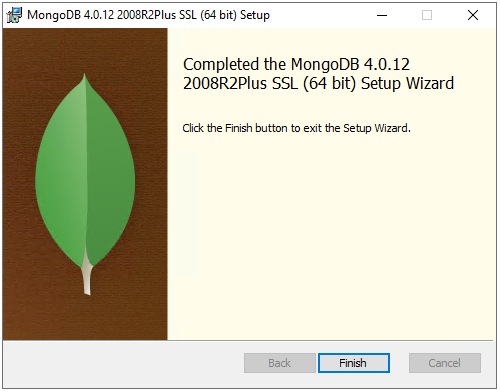
You should now have finished the installation so simply press “Finish”.
Remember that you will need to repeat the above steps for the two other servers.
Step 3: Update the MongoDB configuration file
Now on each of the servers we have to alter the config file slightly so open the following file on each server:
C:\Program Files\MongoDB\Server\4.0\bin\mongod.cfg
In this file change the following:
bindIp: 127.0.0.1
Should become:
bindIp: 0.0.0.0
(for this tutorial this is perfectly fine, for production, I would recommend you fill in the private IP address of the server)
Also, change:
#replication:
this should become:
replication:
replSetName: ulyaoth
So the whole config should probably looks something like this now:
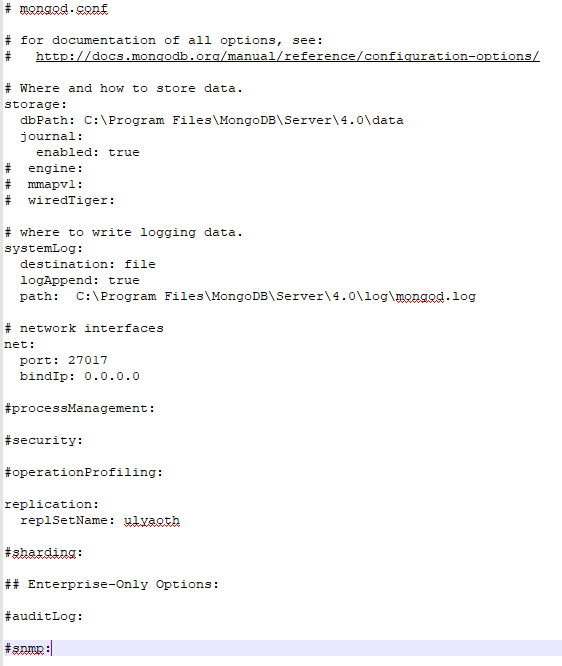
When you have done this open “Services” find “MongoDB” and restart the service and continue below once you have done this on all three the servers.
Step 4: Fix the Windows Defender Firewall (on all three servers).
Search for “Windows Defender Firewall” and open the application:
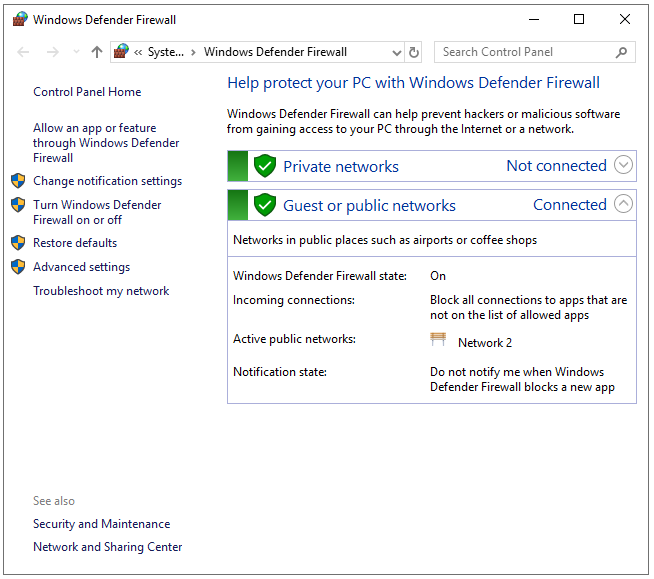
On this window click on “Allow an app or feature through Windows Defender Firewall” your window will change and click on this window on “Allow another app…” and browse to the mongodb folder and choice for path: C:\Program Files\MongoDB\Server\4.0\bin\mongod.exe, it should look like this:
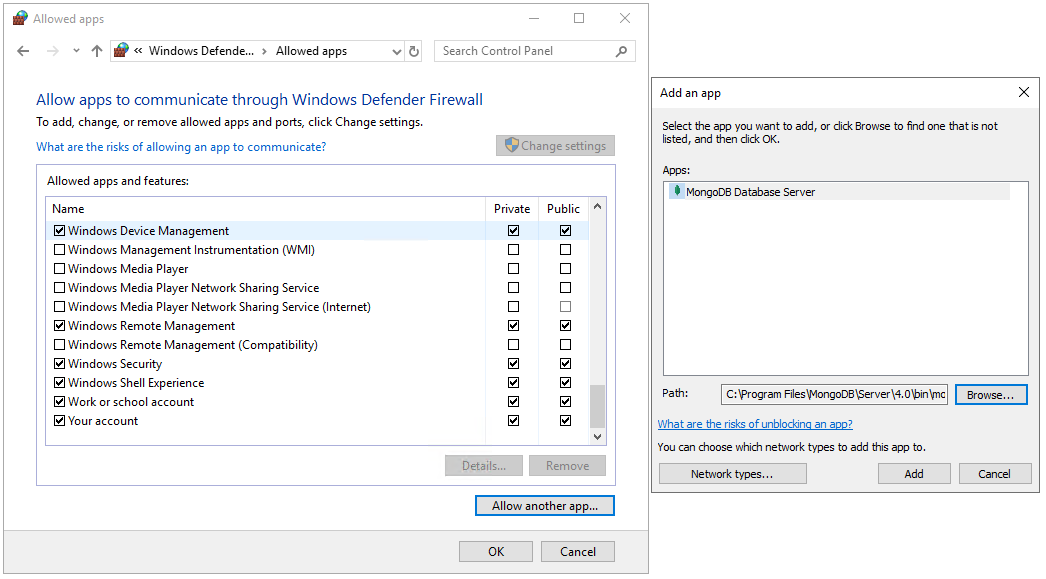
If everything looks as above press on Add to allow the app in the Firewall as you can see above.
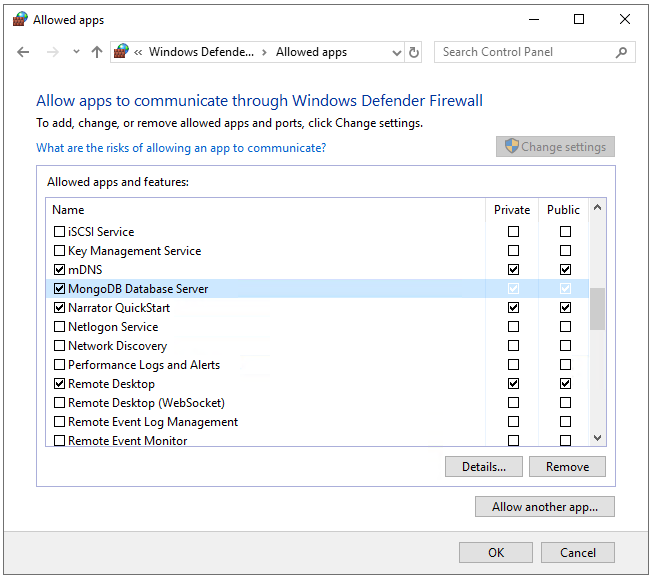
If everything is as on the above picture then simply close the Firewall by pressing on the “OK” button.
Step 5: Go into the MongoDB shell (only on server one)
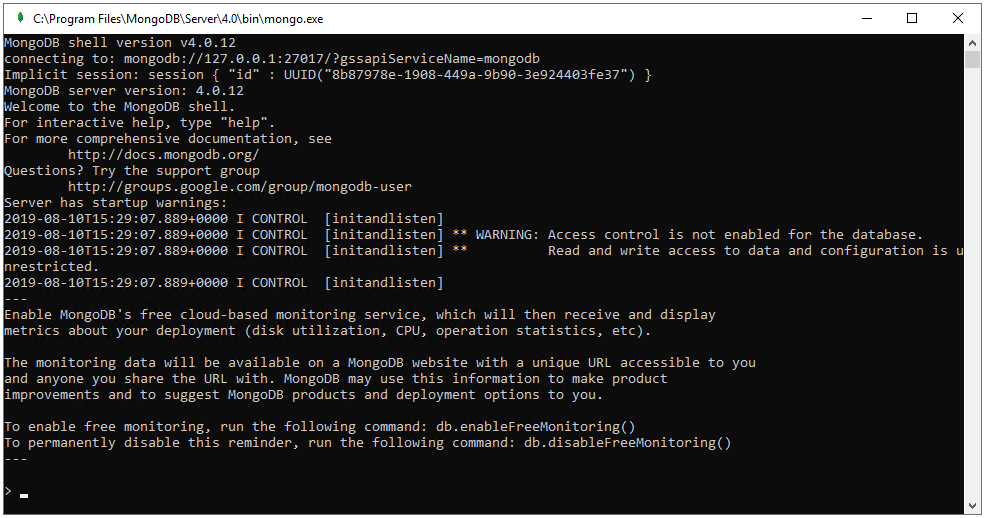
Go to “C:\Program Files\MongoDB\Server\4.0\bin” and double click on “mongo” a terminal window should open that looks like this:
Step 6: Create the replica set in the mongo shell. (only on your first server)
While being in the mongo shell type the following commands:
cls

rs.initiate()

rs.add("mongodb01:27017")

rs.add("mongodb02:27017")

cfg = rs.conf()

cfg.members[0].host = "mongodb03"

cfg.members[0].priority = 100

cfg.members[1].priority = 50

cfg.members[2].priority = 50

rs.reconfig(cfg)
You have to replace the words “mongodb01”, “mongodb02” and “mongodb03” with the IP of your server.
Step 7: Test your configuration is working. (only on your first server)
in the mongo shell still type:
rs.status()
You should see something like this if everything is correct:
ulyaoth:PRIMARY> rs.status()

{

"set" : "ulyaoth",

"date" : ISODate("2019-08-10T15:54:10.302Z"),

"myState" : 1,

"term" : NumberLong(1),

"syncingTo" : "",

"syncSourceHost" : "",

"syncSourceId" : -1,

"heartbeatIntervalMillis" : NumberLong(2000),

"optimes" : {

"lastCommittedOpTime" : {

"ts" : Timestamp(1565452318, 1),

"t" : NumberLong(1)

},

"appliedOpTime" : {

"ts" : Timestamp(1565452448, 1),

"t" : NumberLong(1)

},

"durableOpTime" : {

"ts" : Timestamp(1565452448, 1),

"t" : NumberLong(1)

}

},

"lastStableCheckpointTimestamp" : Timestamp(1565452318, 1),

"members" : [

{

"_id" : 0,

"name" : "mongodb01:27017",

"health" : 1,

"state" : 1,

"stateStr" : "PRIMARY",
Congratulations you now have successfully installed MongoDB on windows and you have set it up in a replication :)! Now lets test that the replication works by creating a database on the master (mongodb01).
Step 8: Create a database with a test collection and some data on the master server
Start by opening mongo shell again as you did in step 5, and from within the shell type the following:
use ulyaoth

u = { name : "ulyaothtutorials" }

db.Data.insert( u )

show dbs

show collections

db.Data.find()
You should see something like this:
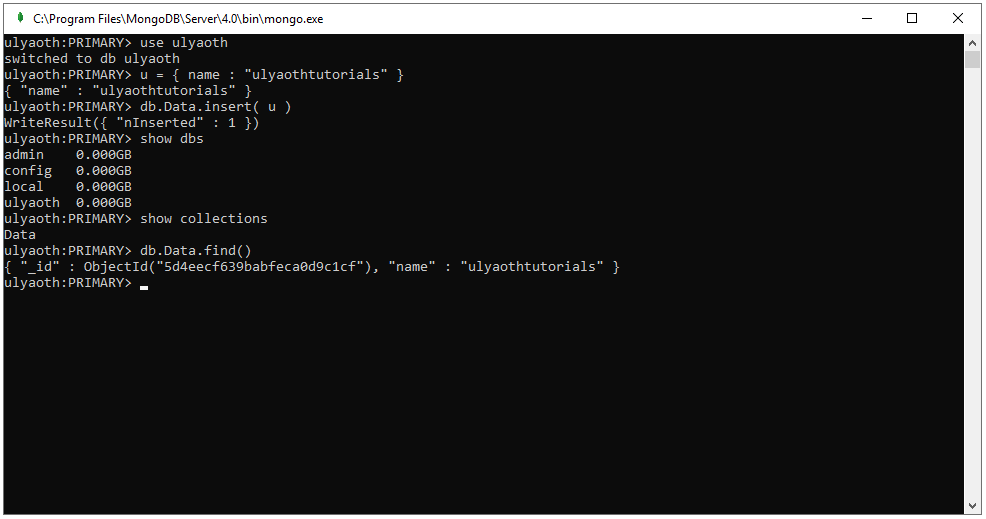
As you can see “show dbs” did show you have a database ulyaoth, “show collections” show you have the collection Data and “db.Data.find()” did show that the Data collections contain the information “ulyaothtutorials”.
Now if everything did work as intended all this should have been replicated to your servers mongodb02 and mongodb03 so let us test it!
Step 9: Check if the slaves have data (on server two or three)
Go to your server two or three and open a mongo shell by double-clicking on the “mongo” file and run the following commands:
rs.slaveOk()

show dbs

use ulyaoth

show collections

db.Data.find()
If everything worked you should see the following:
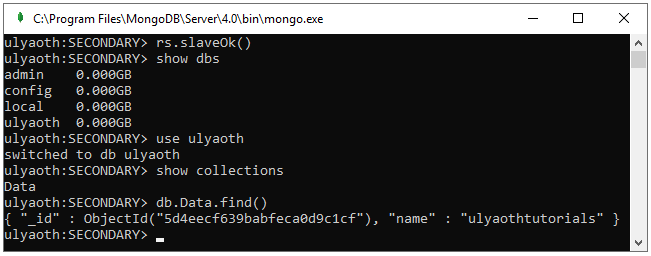
The command “rs.slaveOk()” this is so you allow to read from the slave by default this is not enabled.
And if you wish to drop the “ulyaoth” database you can use the following two commands:
use ulyaoth

db.dropDatabase();
Well, this was it everything worked and you can now use your MongoDB replica set for anything you like!

