
This guide is meant for someone that has never used DigitalOcean before DigitalOcean’s interface is very simple so you probably don’t need this guide but I simply add it as a basis for my future guides that require a server on digitalocean.
So let us start!
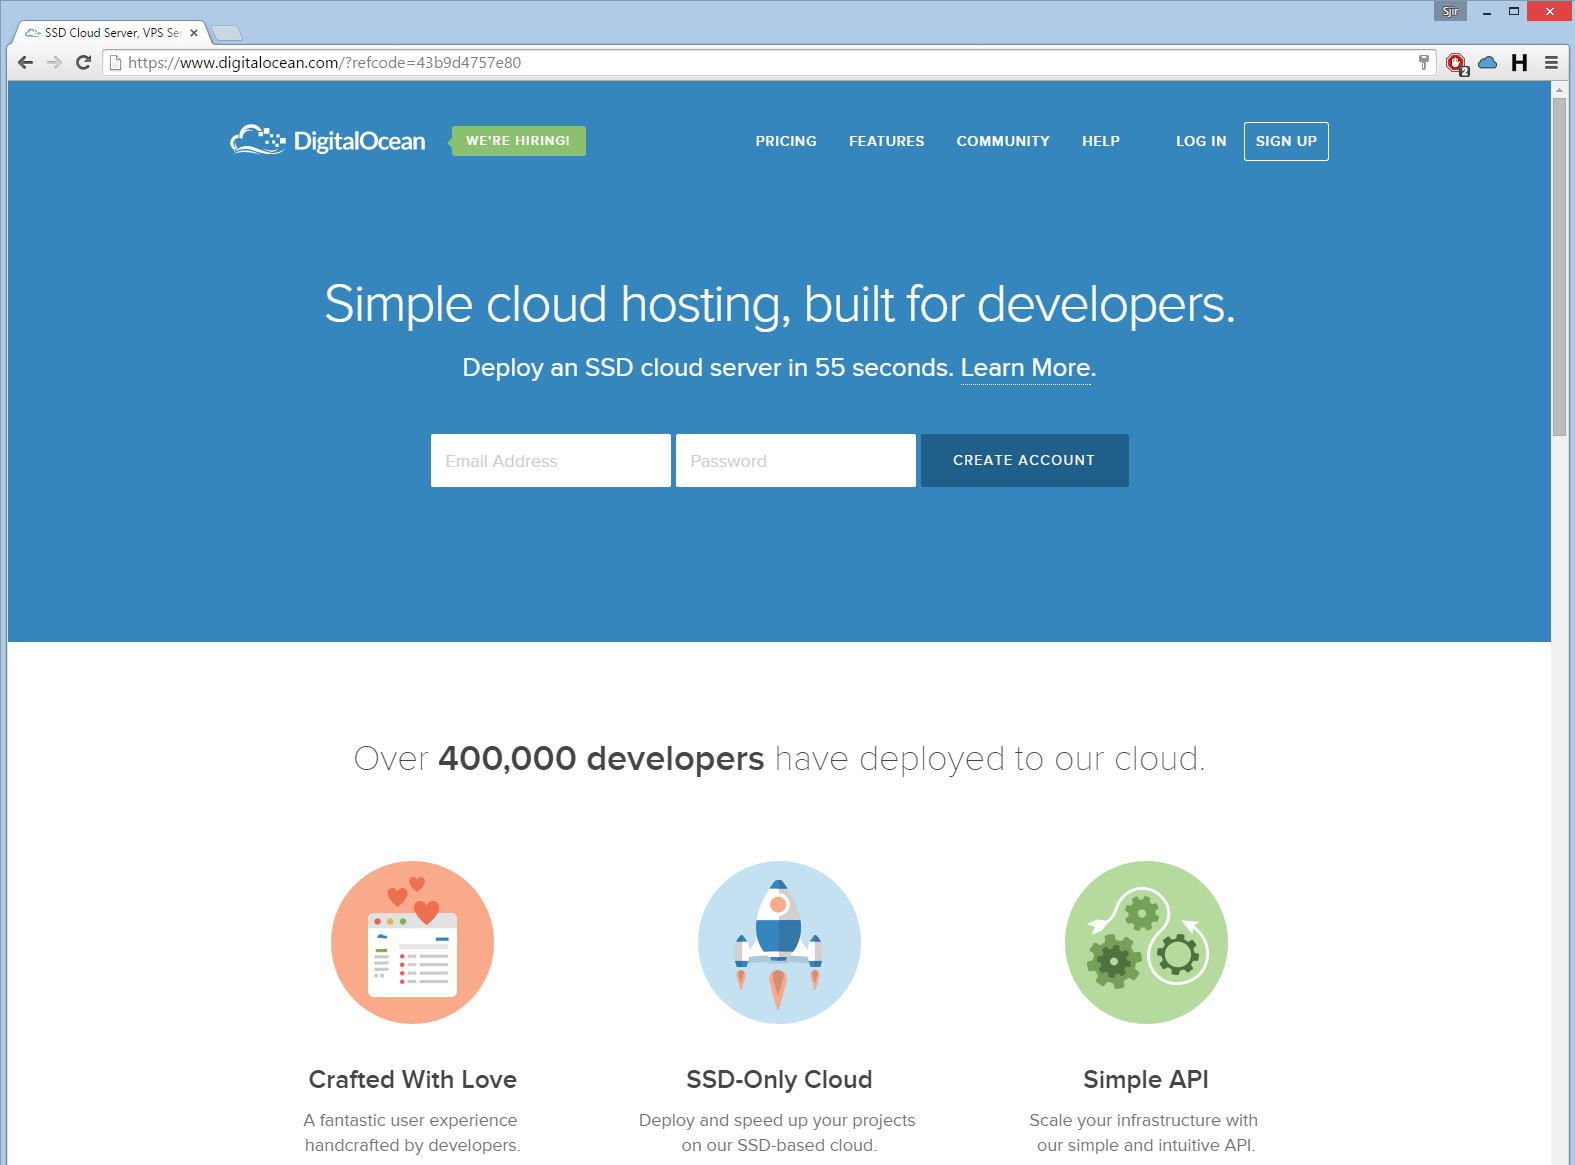
Step 1: Go to DigitalOcean.
Simply use the link below this is my referral link so this means you get 10 dollar for free that is 2 months running the cheapest instance for free.
DigitalOcean: https://www.digitalocean.com/?refcode=43b9d4757e80
You should see a page like this now:
Step 2: Fill in a email and password
Simply fill in the two white boxes your email and password as I did below:
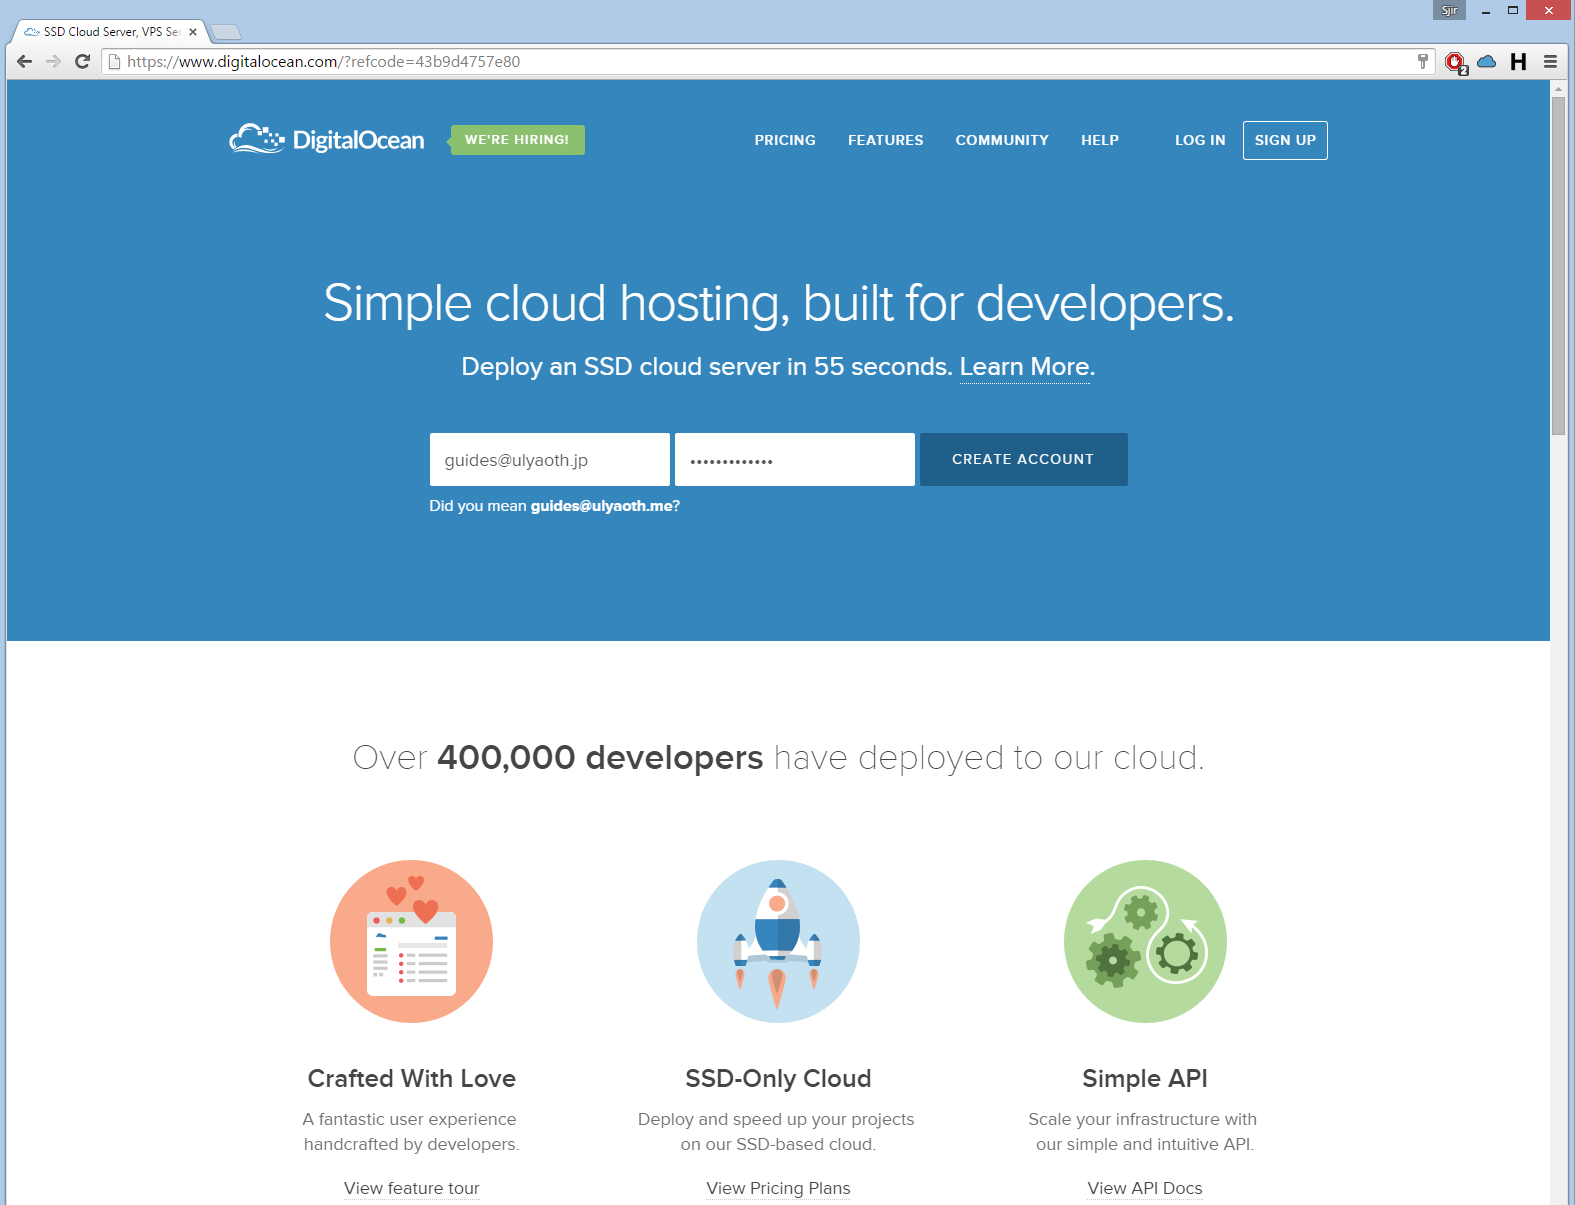
And then press “Create Account”.
Step 3: Confirm the email from DigitalOcean.
You should now receive two emails one email with the title “Credit Granted for $10.00” this means you got the 10 dollars from pressing my referral link it should look like this:
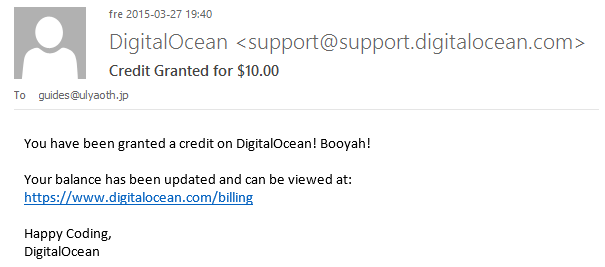
This mail is just for showing you really got the 10 dollars you can ignore it.
and the second mail is the important one it should have the title: “Welcome to DigitalOcean! Please Confirm Your Account” it should look like this:
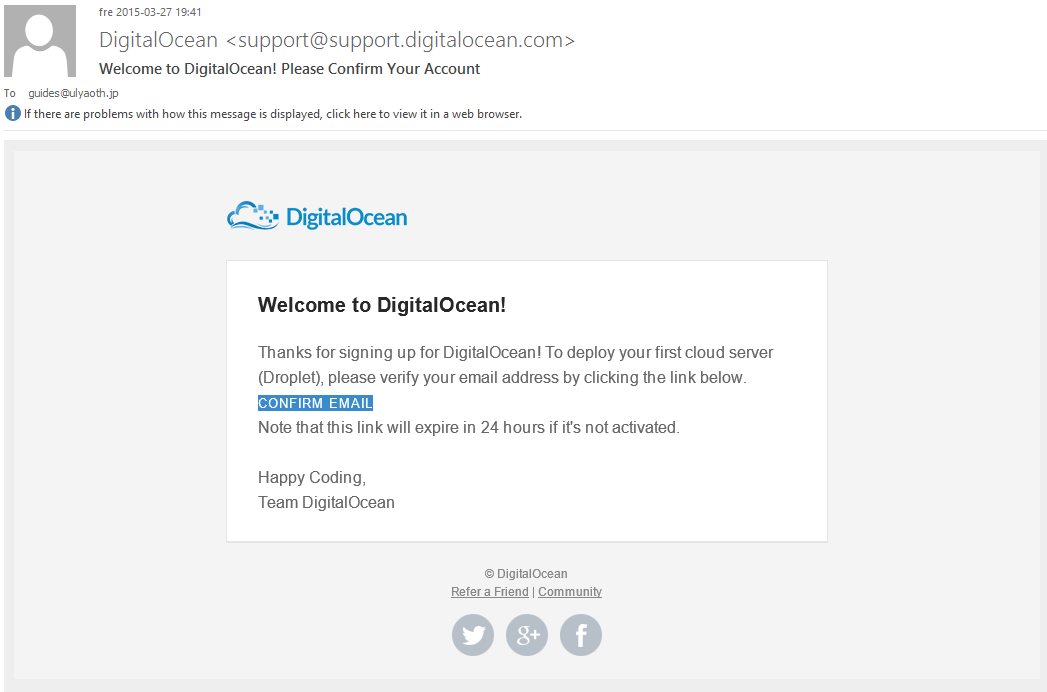
In this mail click on the link “CONFIRM EMAIL” to activate your account.
You should come now on your billing control panel it looks like this:
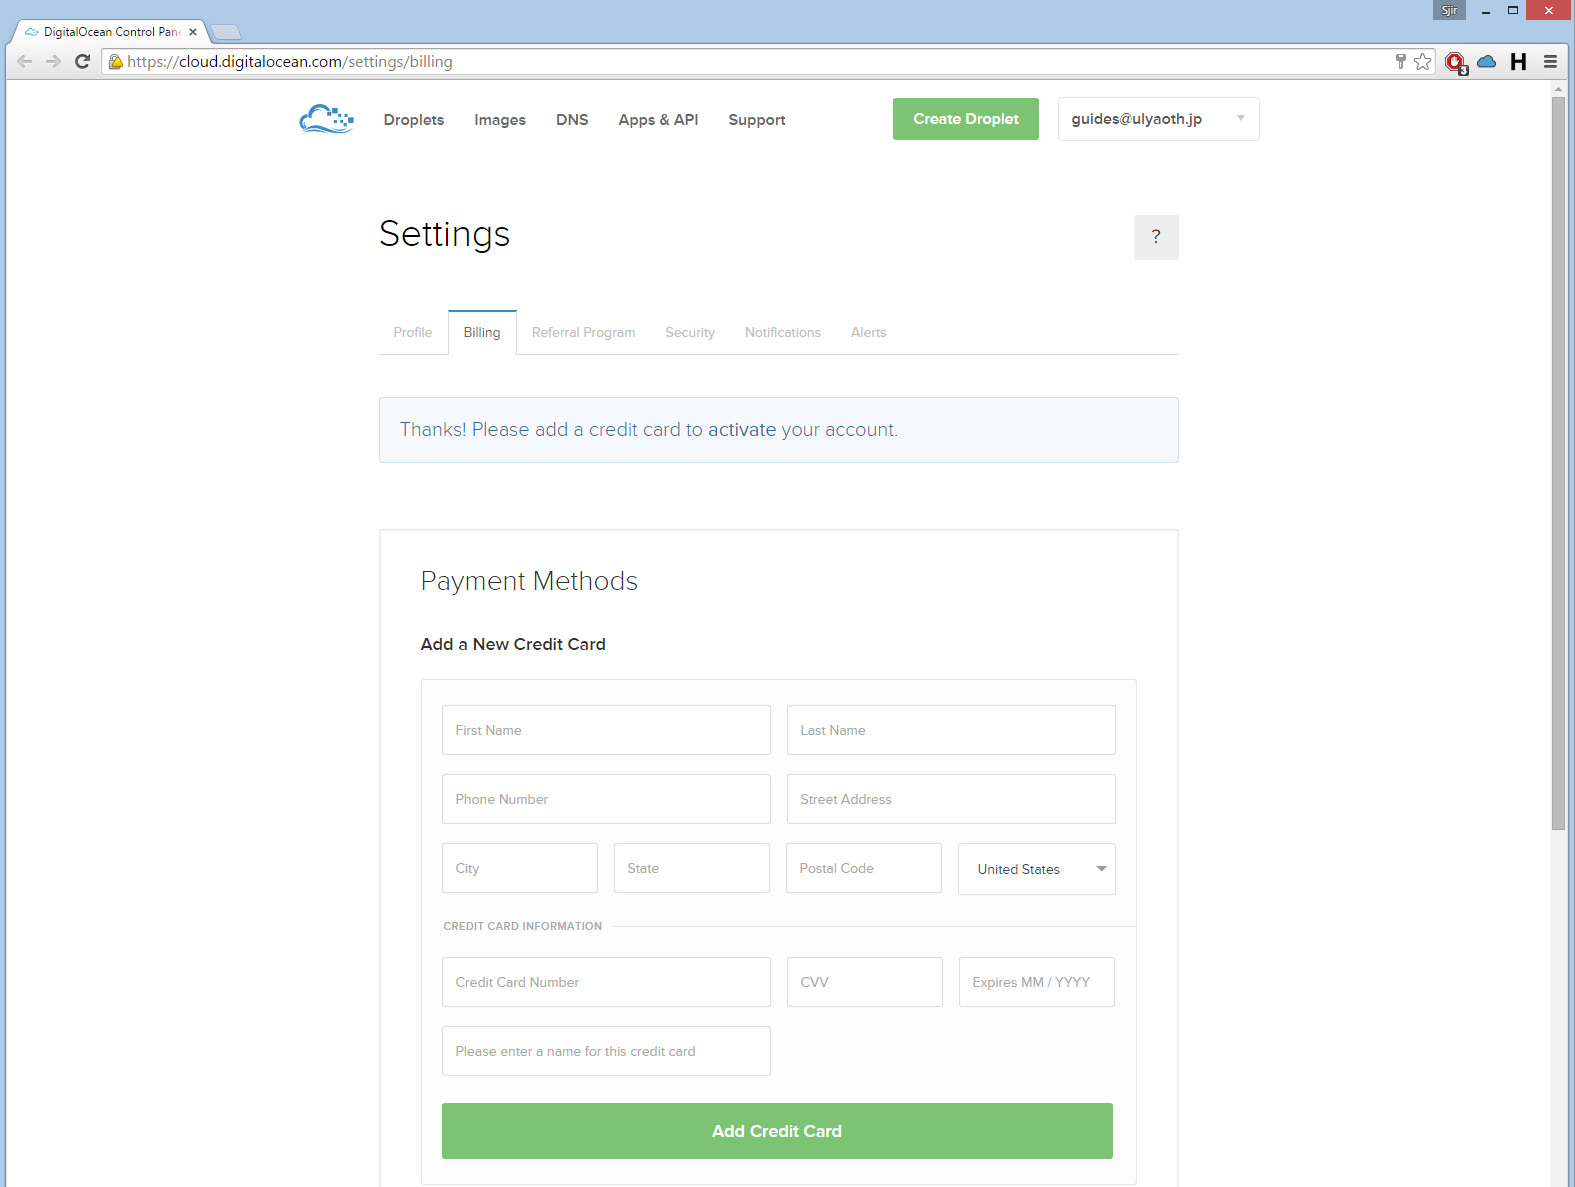
Step 4: Fill in your credit card information.
Wait a minute you said I get 10 dollars free? Yes, this is true but since you always pay after you start the server you could simply start the most expensive server and not pay therefore you are required to add a credit card in order to pay if you go over the 10 dollars. Don’t worry you can simply stop the account after two months if you are not interested.
After you filled it in press the “Add Credit Card” button to finish activating your account.
Step 5: Create your first droplet.
Simply in the top of the page press on the “Create Droplet” button that looks like this:

Now you should see a big page where you can create your droplet it looks like this:
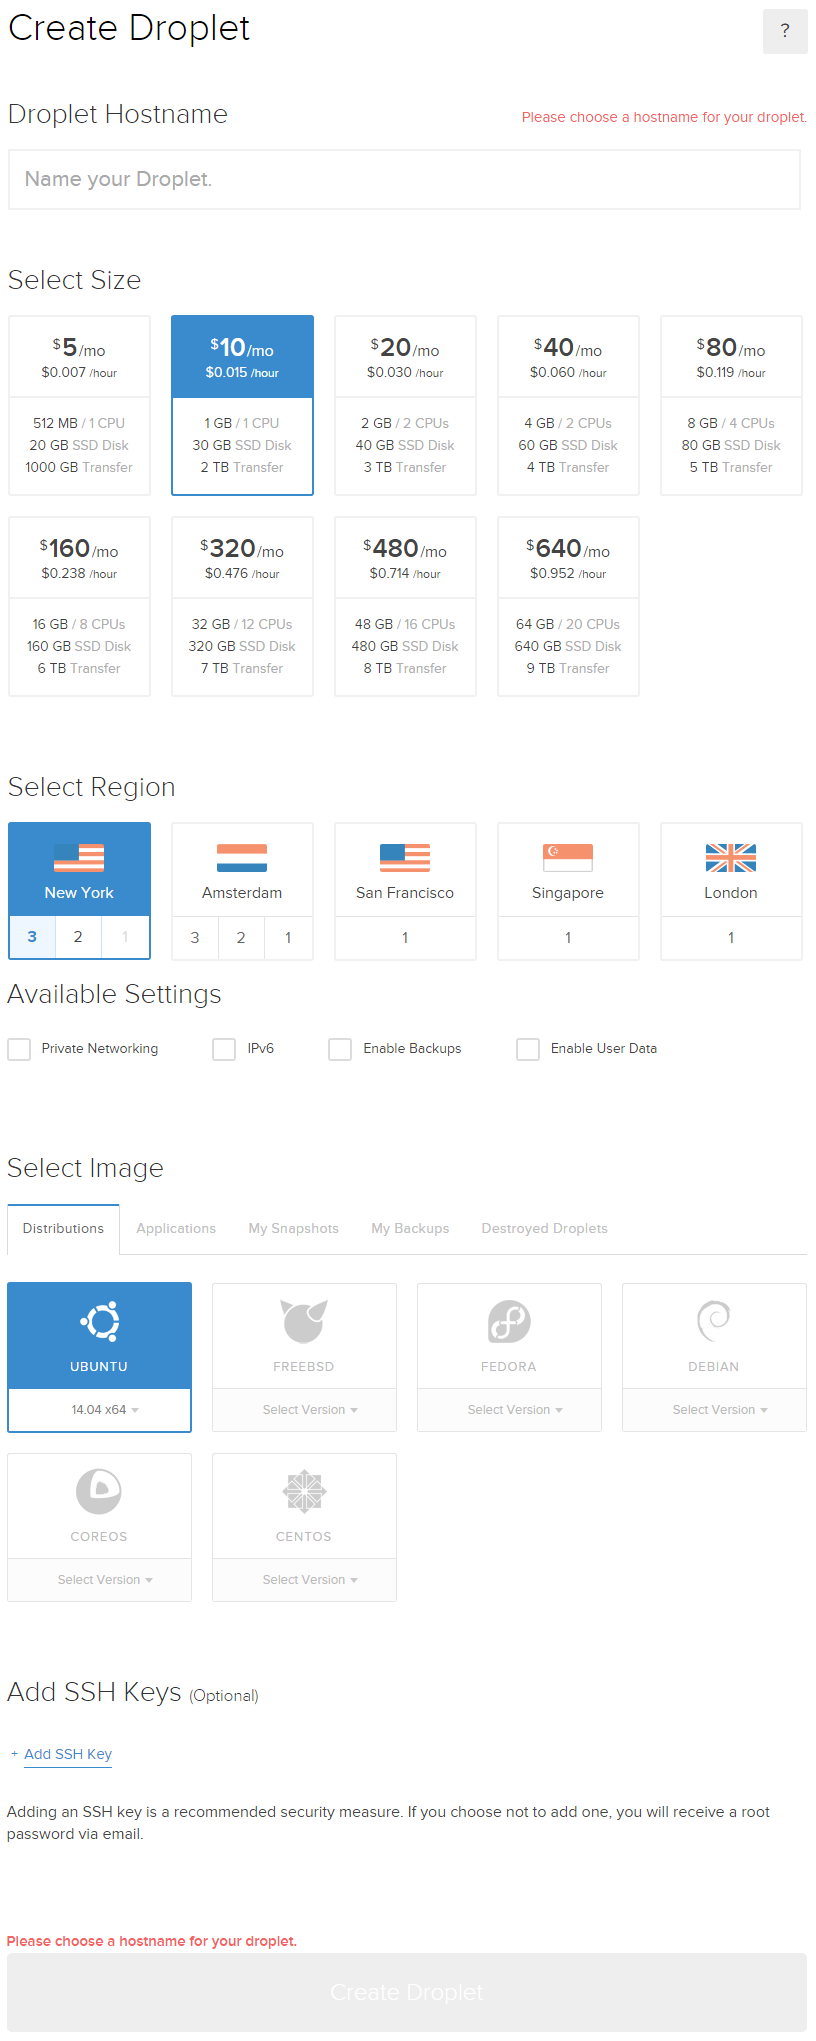
Now fill the fields and choose the options as you see fit I did it as below:
Droplet Hostname: guides.ulyaoth.net
Select Size: 5 dollars a month plan (so you can enjoy the server for 2 months)
Select Region: America 3 (the numbers you see means which datacenter since I want IPv6 I choose 3)
Available Settings: Private Networking and IPv6 (For backups there is an additional charge)
Select Image: Fedora 21 x64
Add SSH Keys: (I ignore this for now if you have a key be sure to add it here)
At the select image part you also see a applications tab if you click that you see something like this:
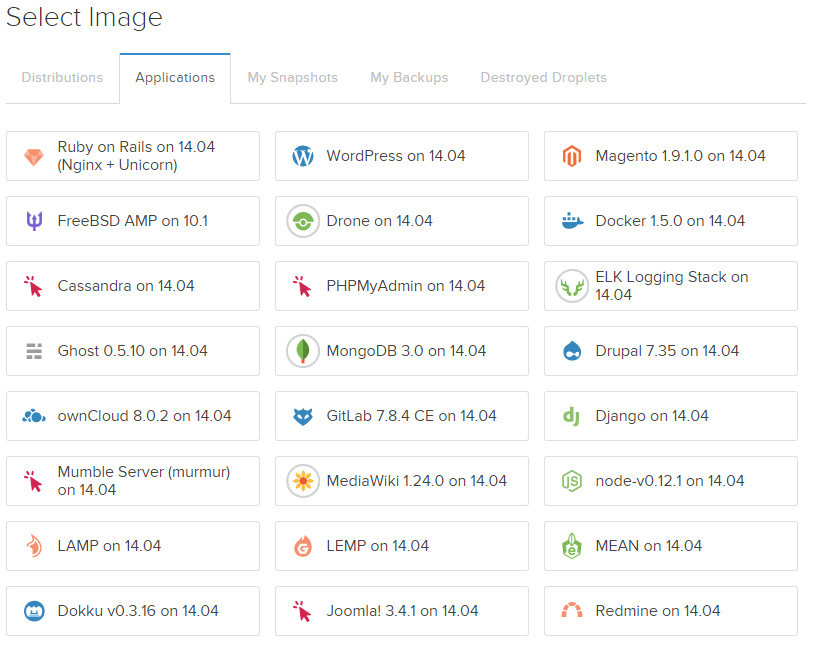
If you want a quick installation of an app like for example a WordPress blog then select this and Digital Ocean will provide you a server with everything pre-installed!
You can also choose a different OS then Fedora however for my guides I use Fedora.
If you did everything as I wrote your page should look like this now:
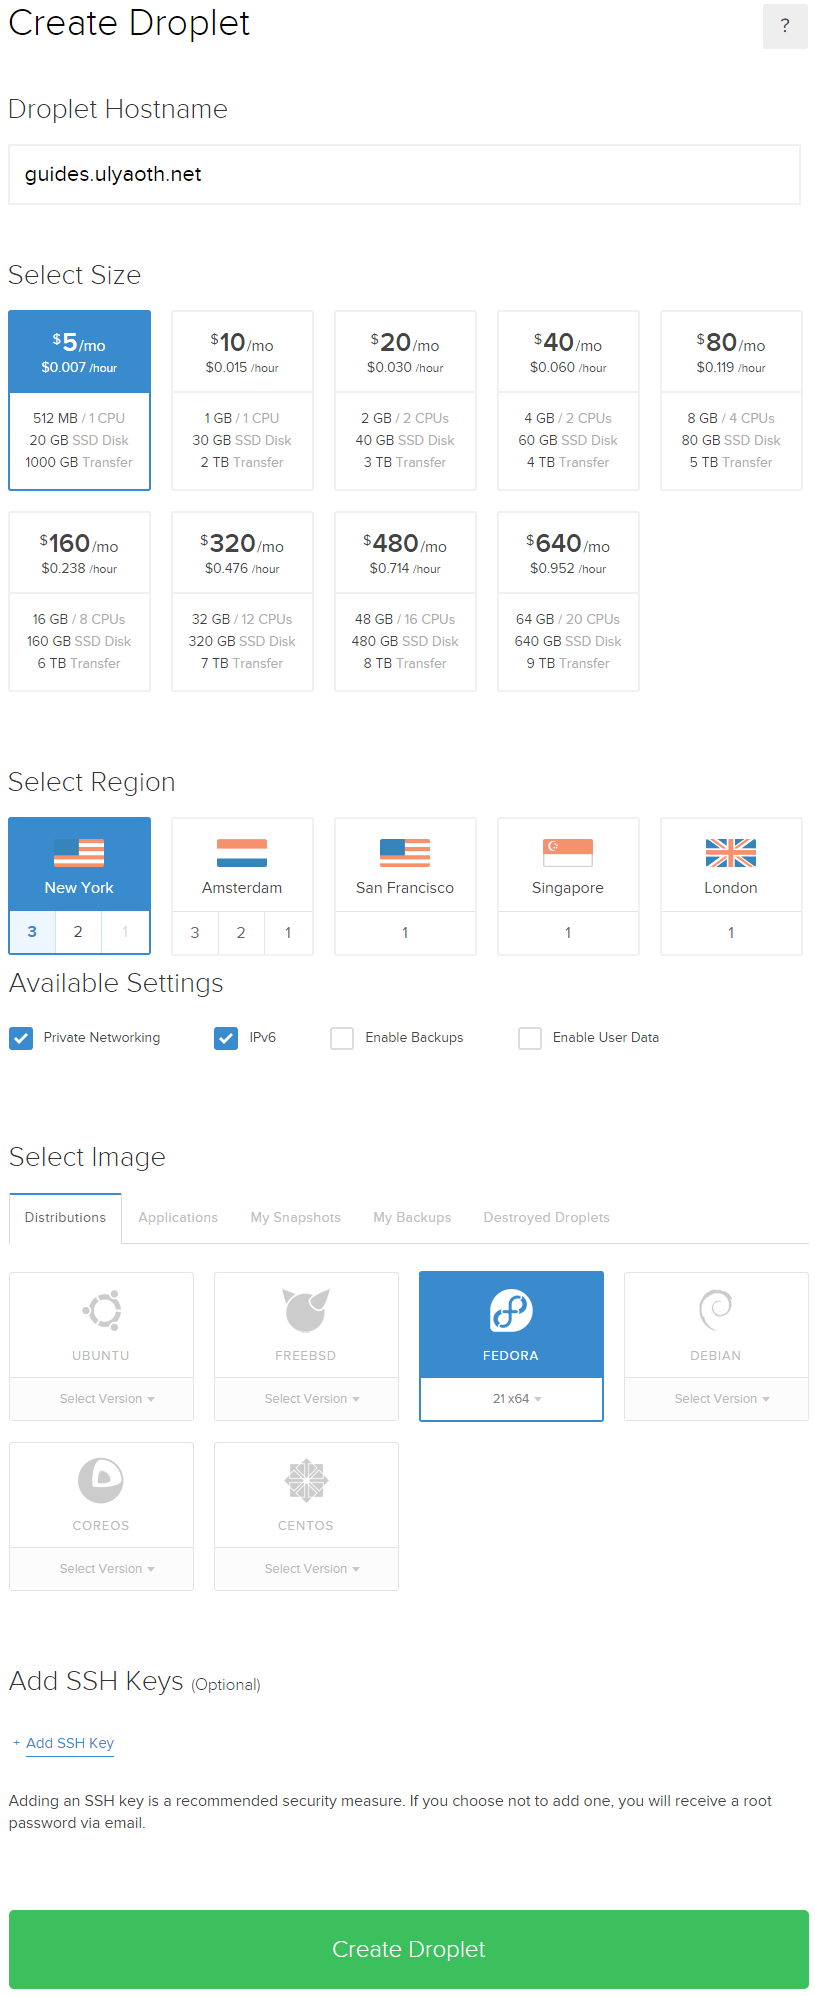
If you are satisfied then press on the big green button in the bottom called “Create Droplet”:

You should now see a page like this:
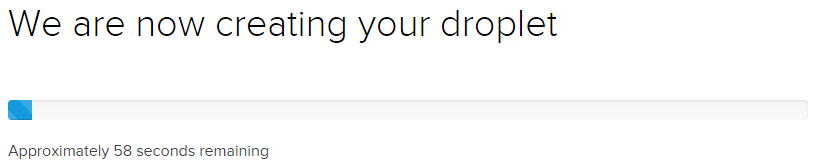
Just wait till it is finished and you come to a page like this:
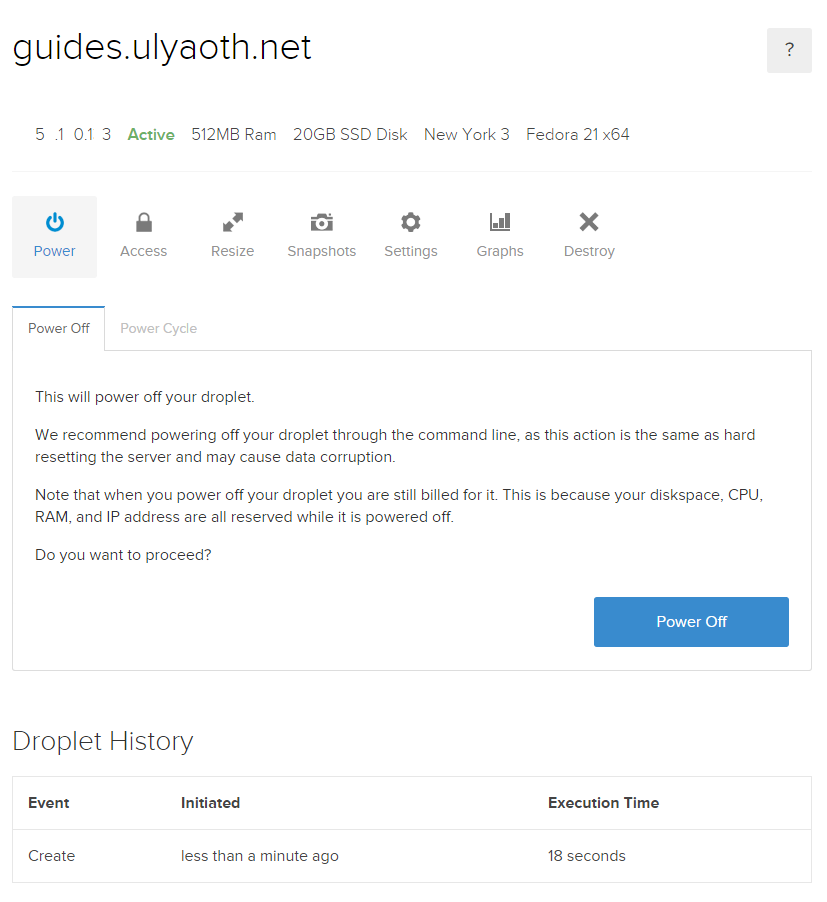
Congratulations you now created your droplet! that was easy right!?
Step 6: Check your email for login information.
You should now have received a email from DigitalOcean named: “Your New Droplet: (droplet name)” it should look like:

This are your login details and with this, you are ready to login to your droplet.
Step 7: Login to your droplet.
Some terminals for windows:
Putty: https://www.chiark.greenend.org.uk/~sgtatham/putty/latest.html
MobaXterm: https://mobaxterm.mobatek.net/
Open your favorite terminal and type:
$ ssh [email protected]
And type your password, you then see a screen like this:
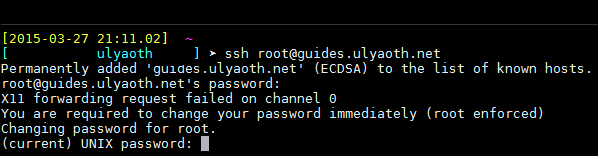
On your first login you have to change your password so go ahead and do this.
Congratulations! you are now in your server and ready to follow one of the guides our website or to do anything else you want to do with your server!